
So, you're thinking about building your own mechanical keyboard? That's awesome! Whether you're a complete newbie or a seasoned enthusiast, the world of custom mechanical keyboards offers endless possibilities for personalization and optimization. This guide will walk you through the essentials, from choosing your components to assembling your dream board. We'll also highlight some fantastic hot-swappable keyboards that make the building process even easier, like the EPOMAKER EA75 and the Keychron K2 HE.
Why Build a Mechanical Keyboard?
Before we dive in, let's talk about why building a mechanical keyboard is worth the effort. Here are a few key reasons:
- Personalization: Choose every component to match your exact preferences – from the switches and keycaps to the case and cable.
- Improved Typing Experience: A well-built mechanical keyboard can dramatically improve your typing speed, accuracy, and overall comfort.
- Unique Aesthetics: Create a keyboard that reflects your personal style and stands out from the crowd.
- Deeper Understanding: Learn about the inner workings of your keyboard and how each component affects the typing experience.
Essential Components
Here's a breakdown of the key components you'll need to build a mechanical keyboard:
- Case: The housing for all your components. Available in various materials (aluminum, plastic, wood) and layouts (60%, 65%, 75%, TKL, full-size).
- PCB (Printed Circuit Board): The brain of the keyboard. It connects all the switches and communicates with your computer. Look for hot-swappable PCBs for easy switch changes.
- Switches: The heart of the keyboard. They determine the feel and sound of each keystroke. Popular brands include Cherry MX, Gateron, and Kailh.
- Keycaps: The caps that sit on top of the switches. Available in various materials (ABS, PBT), profiles (Cherry, OEM, DSA), and legends (printed, doubleshot, dyesub).
- Stabilizers: Support the larger keys (Shift, Enter, Spacebar) to prevent wobbling. Clip-in or screw-in options available.
- Plate: Sits between the switches and the PCB, providing additional support and affecting the sound profile. Materials include aluminum, brass, and polycarbonate.
- Cable: Connects the keyboard to your computer. Options include USB-C, Mini-USB, and coiled cables.
Step-by-Step Build Guide
Here's a general overview of the keyboard building process. Keep in mind that the specific steps may vary depending on your chosen components.
- Gather Your Components: Make sure you have everything you need before you start.
- Install Stabilizers: Attach the stabilizers to the PCB. Lubricate them for a smoother feel and quieter sound.
- Mount the Switches: Insert the switches into the PCB. If you have a hot-swappable PCB, this is a breeze! Otherwise, you'll need to solder the switches in place.
- Install the Plate (Optional): Place the plate on top of the switches.
- Assemble the Case: Put the PCB, switches, and plate into the case.
- Attach Keycaps: Place the keycaps on top of the switches.
- Connect the Cable: Plug the keyboard into your computer.
- Test and Troubleshoot: Test all the keys to make sure they're working properly. If any keys aren't working, double-check the switch installation and PCB connections.
Hot-Swappable Keyboards: A Beginner's Best Friend
If you're new to keyboard building, hot-swappable keyboards are a fantastic option. They allow you to easily swap out switches without soldering, making it easy to experiment with different switch types and find your perfect feel. Here are a few excellent hot-swappable keyboards to consider:
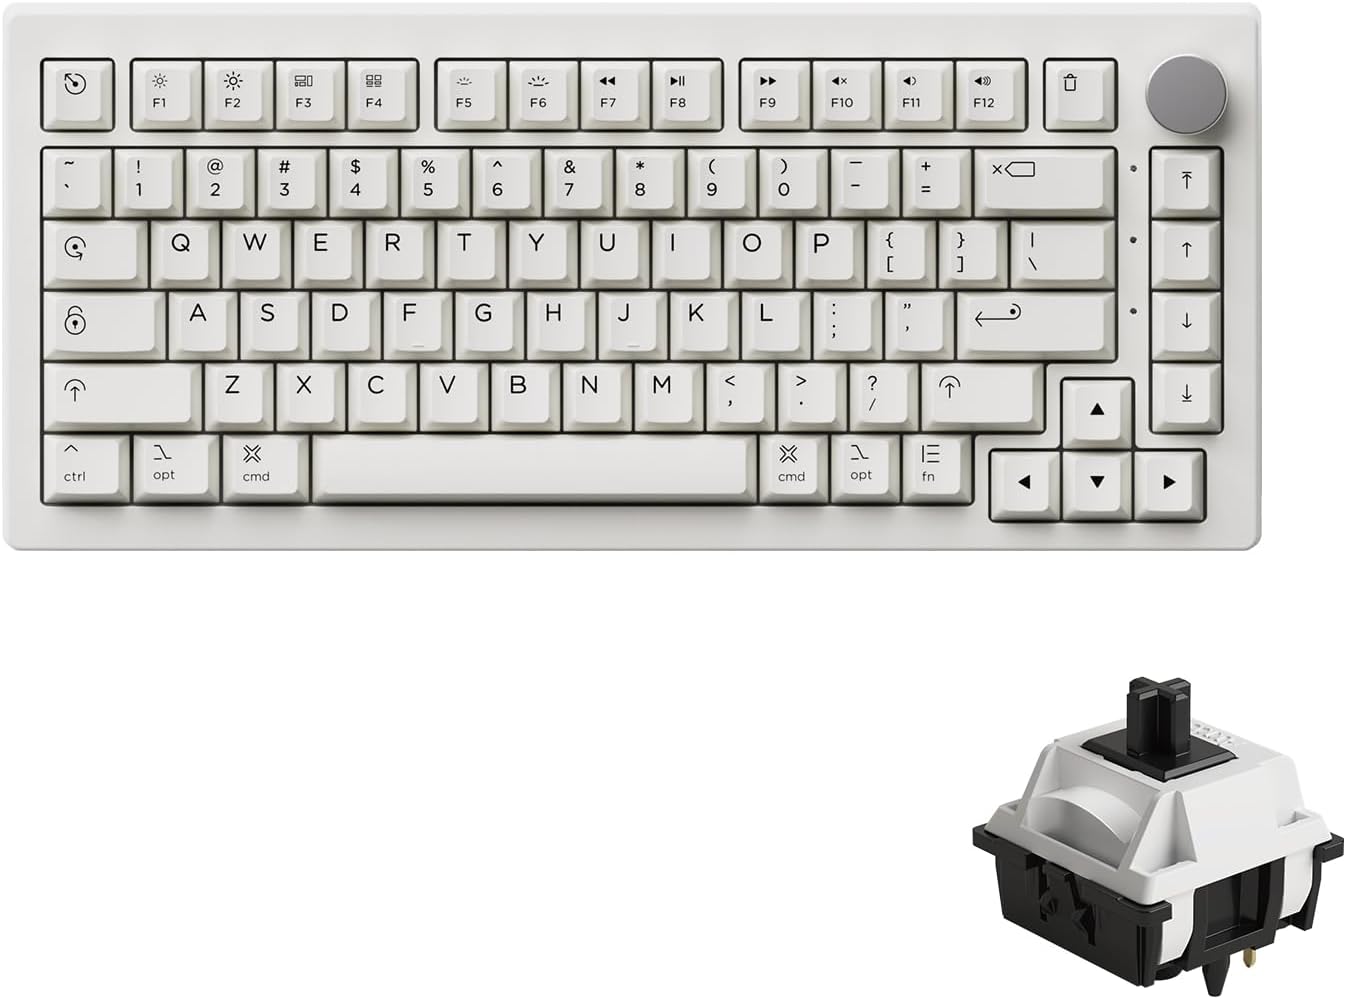
EPOMAKER EA75

The EPOMAKER EA75 is a 75% mechanical keyboard with 81 keys, featuring tri-mode connectivity (wired, Bluetooth, and 2.4GHz) and a versatile rotary knob. It offers a smooth and quiet typing experience with factory-lubed switches, a gasket-mounted design, and multiple layers of sound dampening. With vibrant RGB lighting and hot-swappable compatibility, it's a great choice for both productivity and casual gaming.
Pros:
- Tri-mode connectivity
- Hot-swappable sockets
- Gasket-mounted design
- Factory-lubed switches
Cons:
- Plastic case
- Software can be a bit clunky
Keychron K2 HE
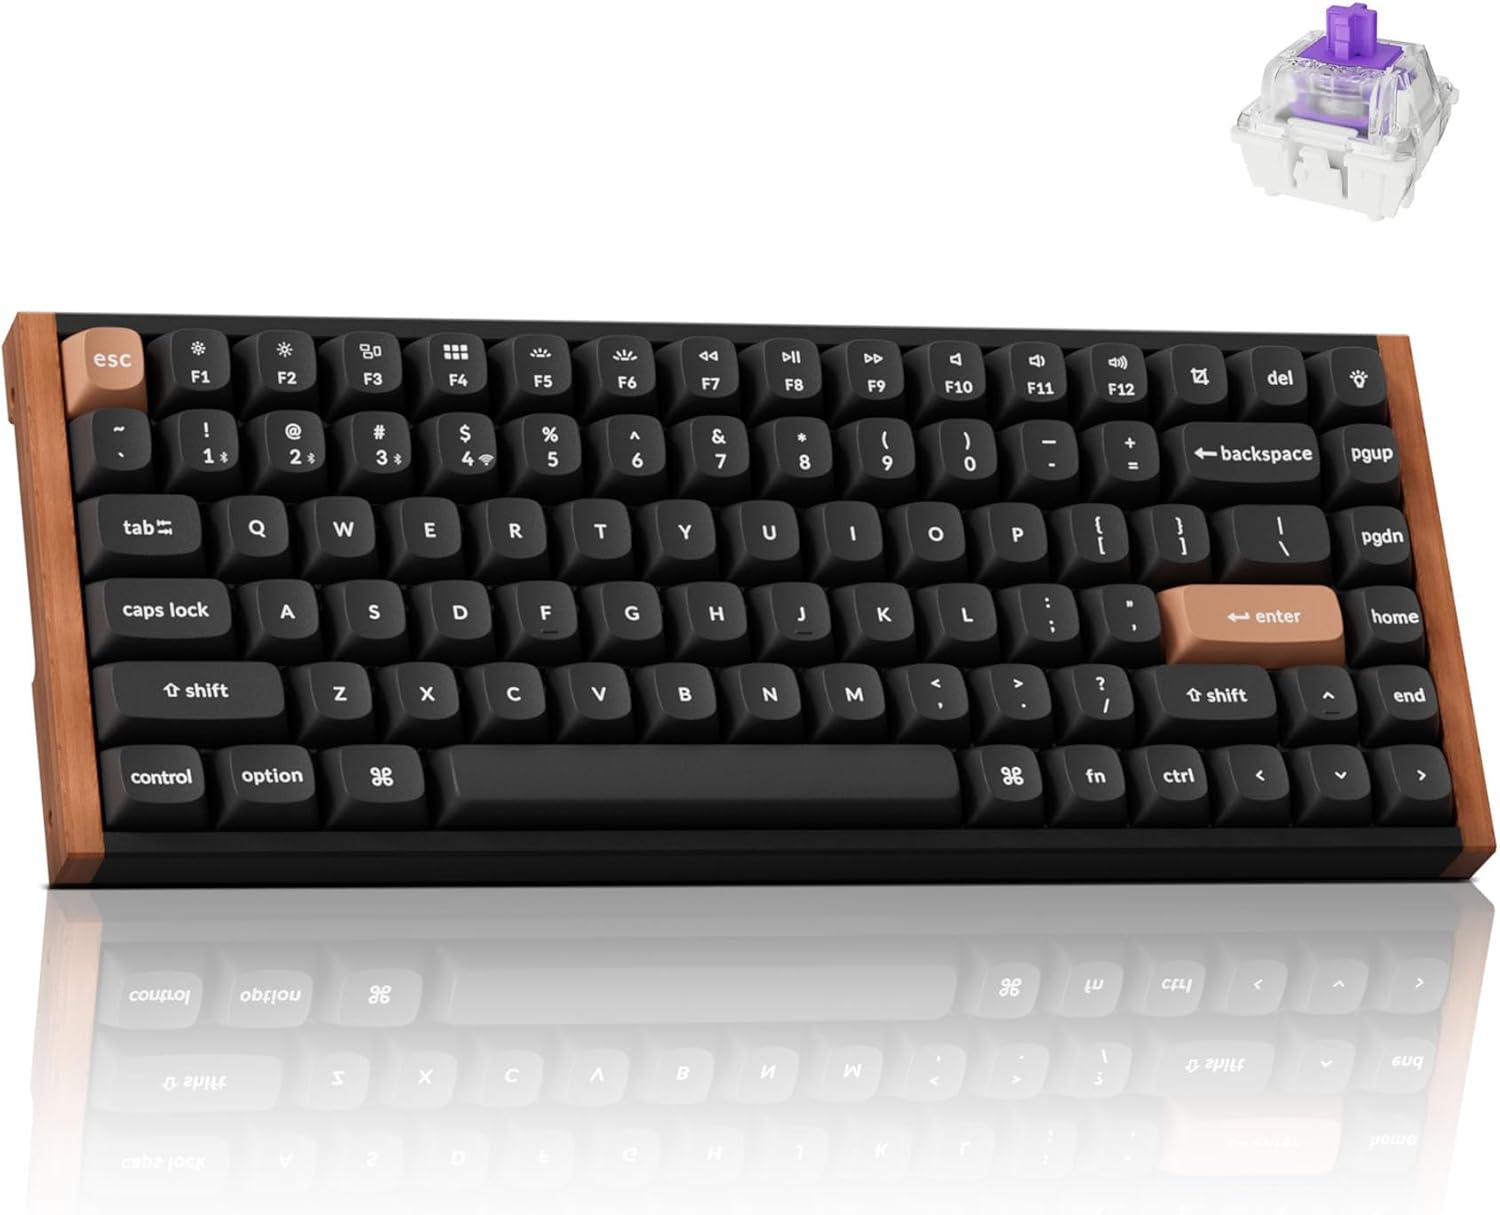
The Keychron K2 HE is a high-performance 75% mechanical keyboard featuring Hall-Effect Gateron double-rail magnetic switches, allowing for ultra-responsive input and customizable actuation as low as 0.1 mm. It supports 2.4GHz wireless (with a 1000Hz polling rate), Bluetooth 5.2, and USB-C connectivity, along with QMK/VIA programmability and hot-swappability for magnetic switches. With a sleek aluminum and wood frame, gasket-mounted design, double-shot PBT keycaps, and a long-lasting 4000mAh battery, it's built for both serious gaming and refined typing.
Pros:
- Hall-Effect magnetic switches
- Adjustable actuation point
- QMK/VIA programmability
- Excellent build quality
Cons:
- Relatively expensive
- Magnetic switches may not be for everyone
AULA F99
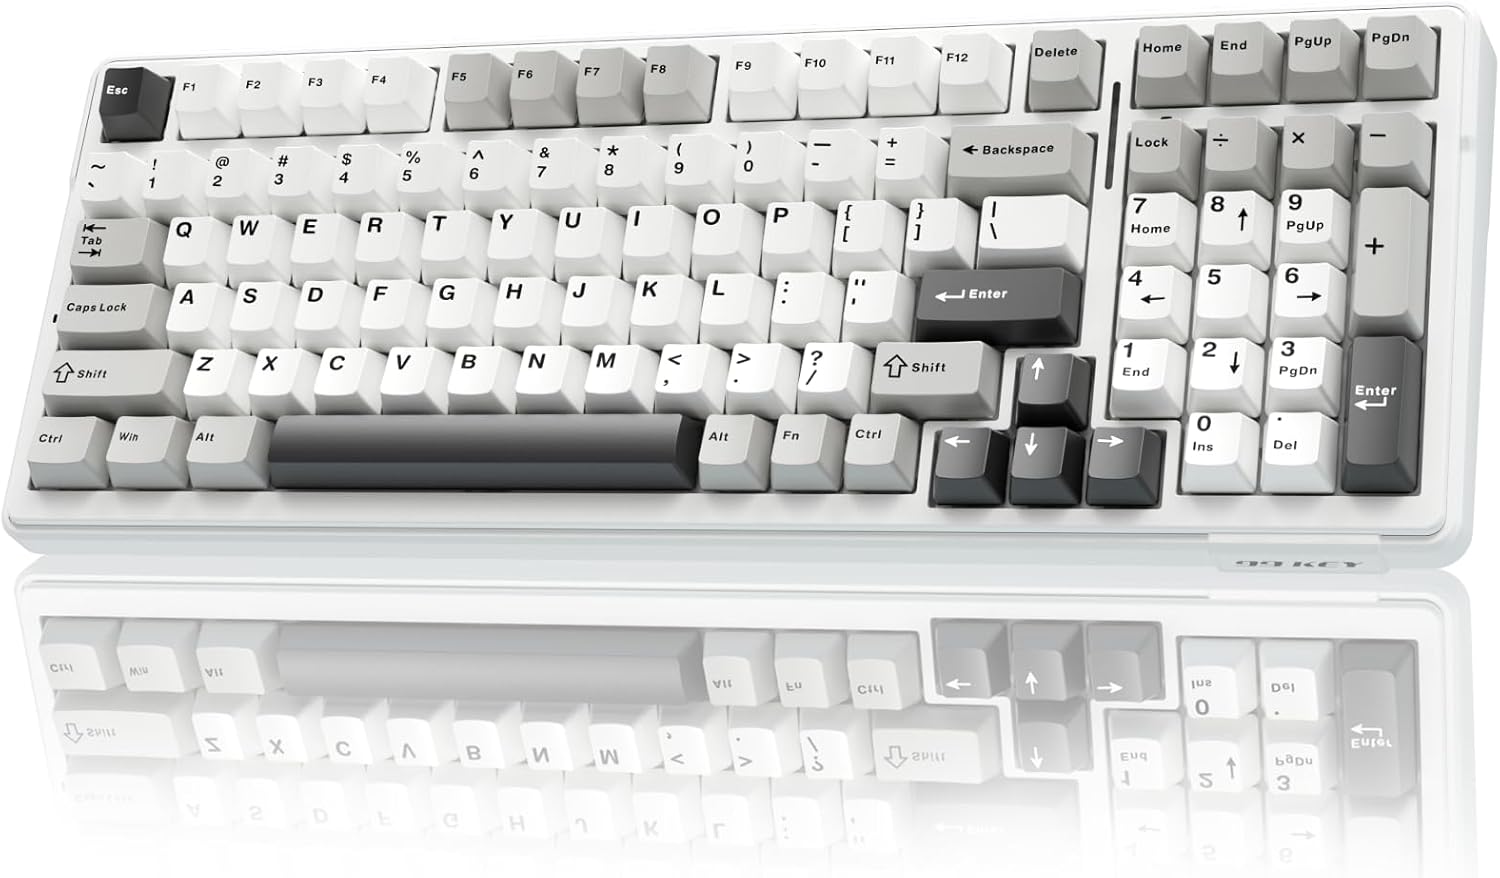
The AULA F99 is a compact 96% mechanical keyboard featuring tri-mode connectivity—Bluetooth 5.0, 2.4GHz wireless, and USB-C—paired with a powerful 8000mAh battery for extended use. Its gasket-mounted structure, five-layer sound dampening, and pre-lubed linear switches offer a soft, responsive typing experience with rich acoustics. Hot-swappable switch sockets, vibrant per-key RGB lighting, and customizable macros make it a versatile choice for both typists and gamers.
Pros:
- Large 8000mAh battery
- Excellent sound dampening
- Pre-lubed switches
- Affordable price
Cons:
- Uncommon 96% layout
- Bluetooth 5.0 (not the latest version)
WOBKEY Rainy 75
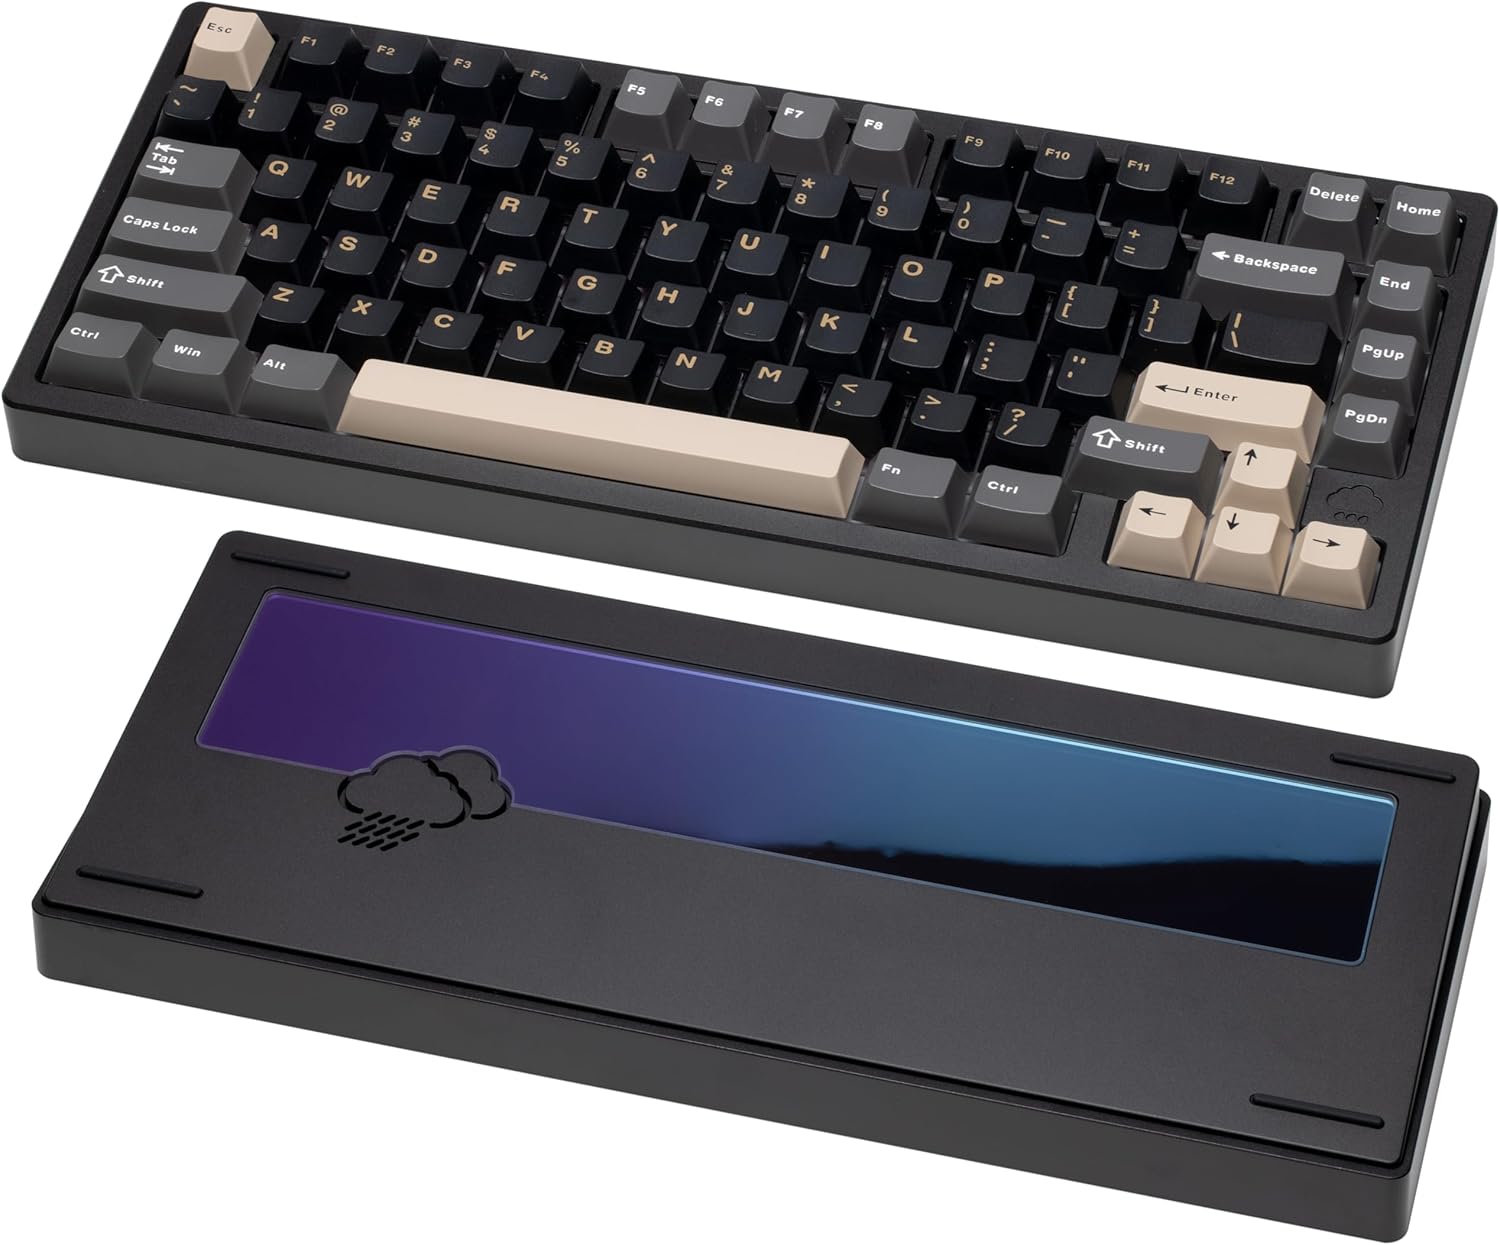
The WOBKEY Rainy75 is a minimalist mechanical keyboard built for a premium typing experience, featuring a solid aluminum case, five-layer acoustic dampening, and a gasket-mounted design for soft, quiet keystrokes. It offers tri-mode connectivity—Bluetooth, 2.4GHz wireless, and USB-C wired—making it adaptable for any setup. With hot-swappable switches, south-facing RGB lighting, and high-quality keycaps, the Rainy75 delivers a refined, customizable experience ideal for both work and play.
Pros:
- Premium aluminum case
- Excellent sound dampening
- Clean, minimalist design
Cons:
- More expensive than plastic options
- May be too minimalist for some users
Akko 5075B Plus Air
The Akko 5075B Plus Air is a Mac-themed, 75% wireless mechanical keyboard featuring hot-swappable sockets and durable PBT dye-sub keycaps. It supports tri-mode connectivity (Bluetooth 5.0, 2.4GHz, and USB-C) and includes a programmable RGB backlight with per-key effects. A customizable knob lets you adjust brightness, volume, or other functions using the Akko Cloud Driver.
Pros:
- Mac-themed keycaps
- Hot-swappable sockets
- Programmable knob
- Affordable
Cons:
- Akko Cloud Driver software can be buggy
- Bluetooth 5.0 (not the latest version)
Tips and Tricks for a Successful Build
- Research: Read reviews, watch videos, and ask questions before buying any components.
- Plan: Decide on a layout, switch type, and keycap profile before you start building.
- Lubricate: Lubricate your switches and stabilizers for a smoother feel and quieter sound. (A video demo would be great here!)
- Test: Test your keyboard frequently during the build process to catch any problems early.
- Be Patient: Building a mechanical keyboard takes time and effort. Don't get discouraged if you run into problems.
Level Up Your Typing Experience
Building your own mechanical keyboard is a rewarding experience that allows you to create a truly personalized typing tool. Whether you choose a hot-swappable option like the EPOMAKER EA75 or Keychron K2 HE or go all-in with a full custom build, the possibilities are endless. So, what are you waiting for? Start planning your dream keyboard today!
Ready to explore the world of mechanical keyboards? Click the links above to check out our recommended products and start your journey to a better typing experience! Let us know in the comments what kind of keyboard you're planning to build!