
So, you've caught the mechanical keyboard bug? Welcome to the club! It's a deep rabbit hole, but a rewarding one. Beyond the satisfying thocc and endless aesthetic possibilities lies a world of customization that can truly make your keyboard an extension of yourself. This guide is your starting point for taking your mechanical keyboard from stock to spectacular.
Why Customize Your Mechanical Keyboard?
Before we dive in, let's address the elephant in the room: why bother customizing at all? Here’s the deal:
- Personalization: Make your keyboard yours. Reflect your style, preferences, and even your mood.
- Improved Typing Experience: Different switches, keycaps, and layouts can dramatically impact how your keyboard feels and sounds.
- Ergonomics: Adjust your keyboard to fit your specific needs and reduce strain.
- Performance: Fine-tune your keyboard for gaming, programming, or general productivity.
Getting Started: The Basics
Before you start swapping switches and flashing firmware, let's cover some essential concepts.
Layouts: From Full-Size to 60%
Keyboards come in various sizes, each with its own pros and cons. Common layouts include:
- Full-Size (104/108 keys): The standard layout, with a number pad, function row, and arrow keys.
- Tenkeyless (TKL) / 80%: Omits the number pad for a more compact design.
- 75%: A more compressed TKL layout, often including a function row and arrow keys.
- 65%: Removes the function row but retains arrow keys.
- 60%: The most compact layout, sacrificing arrow keys and often the function row.
Choosing the right layout depends on your needs and desk space. For example, the EPOMAKER EA75, with its 75% layout, strikes a great balance between functionality and compactness. It gives you dedicated function keys and arrow keys without taking up as much space as a full-size board.

Switches: The Heart of Your Keyboard
Switches determine the feel and sound of your keyboard. There are three main types:
- Linear: Smooth and consistent, with no tactile bump. Popular for gaming.
- Tactile: Provide a tactile bump when the key is actuated, offering feedback for typing.
- Clicky: Similar to tactile, but with an audible click sound.
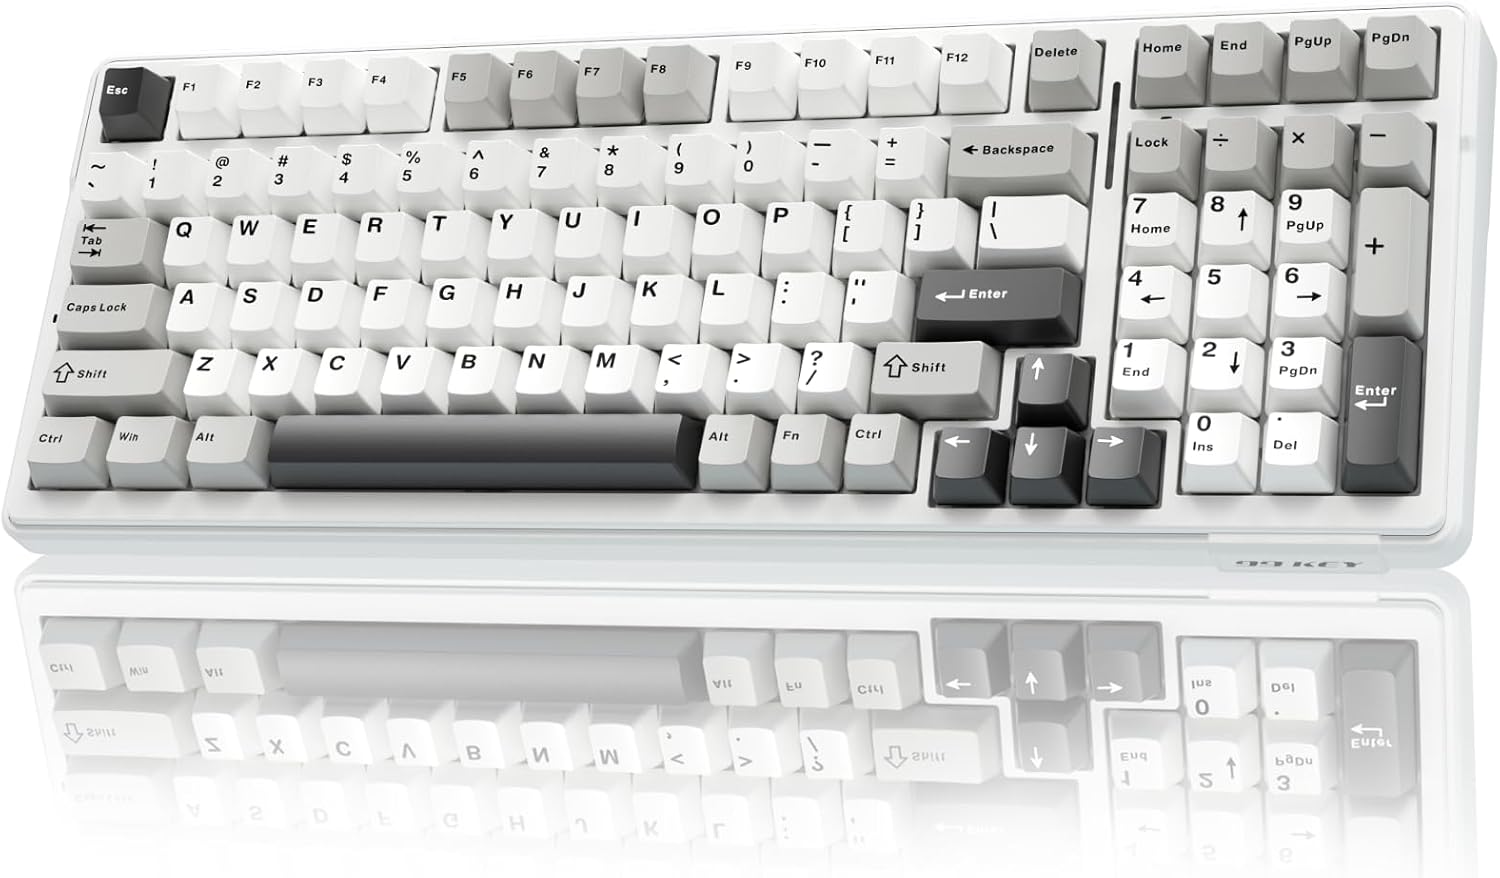
Experiment with different switch types to find what you like best. Many keyboards, like the AULA F99, feature hot-swappable sockets, allowing you to easily change switches without soldering. This is a game-changer for trying out different options.
Visual Suggestion: A switch chart comparing different switch types (linear, tactile, clicky) with force diagrams and sound profiles.
Keycaps: Aesthetics and Feel
Keycaps are the easiest way to change the look of your keyboard. They come in various materials (ABS, PBT), profiles (Cherry, OEM, DSA), and printing methods (dye-sublimation, double-shot). PBT keycaps are generally preferred for their durability and resistance to shine.
Connectivity: Wired, Wireless, or Both?
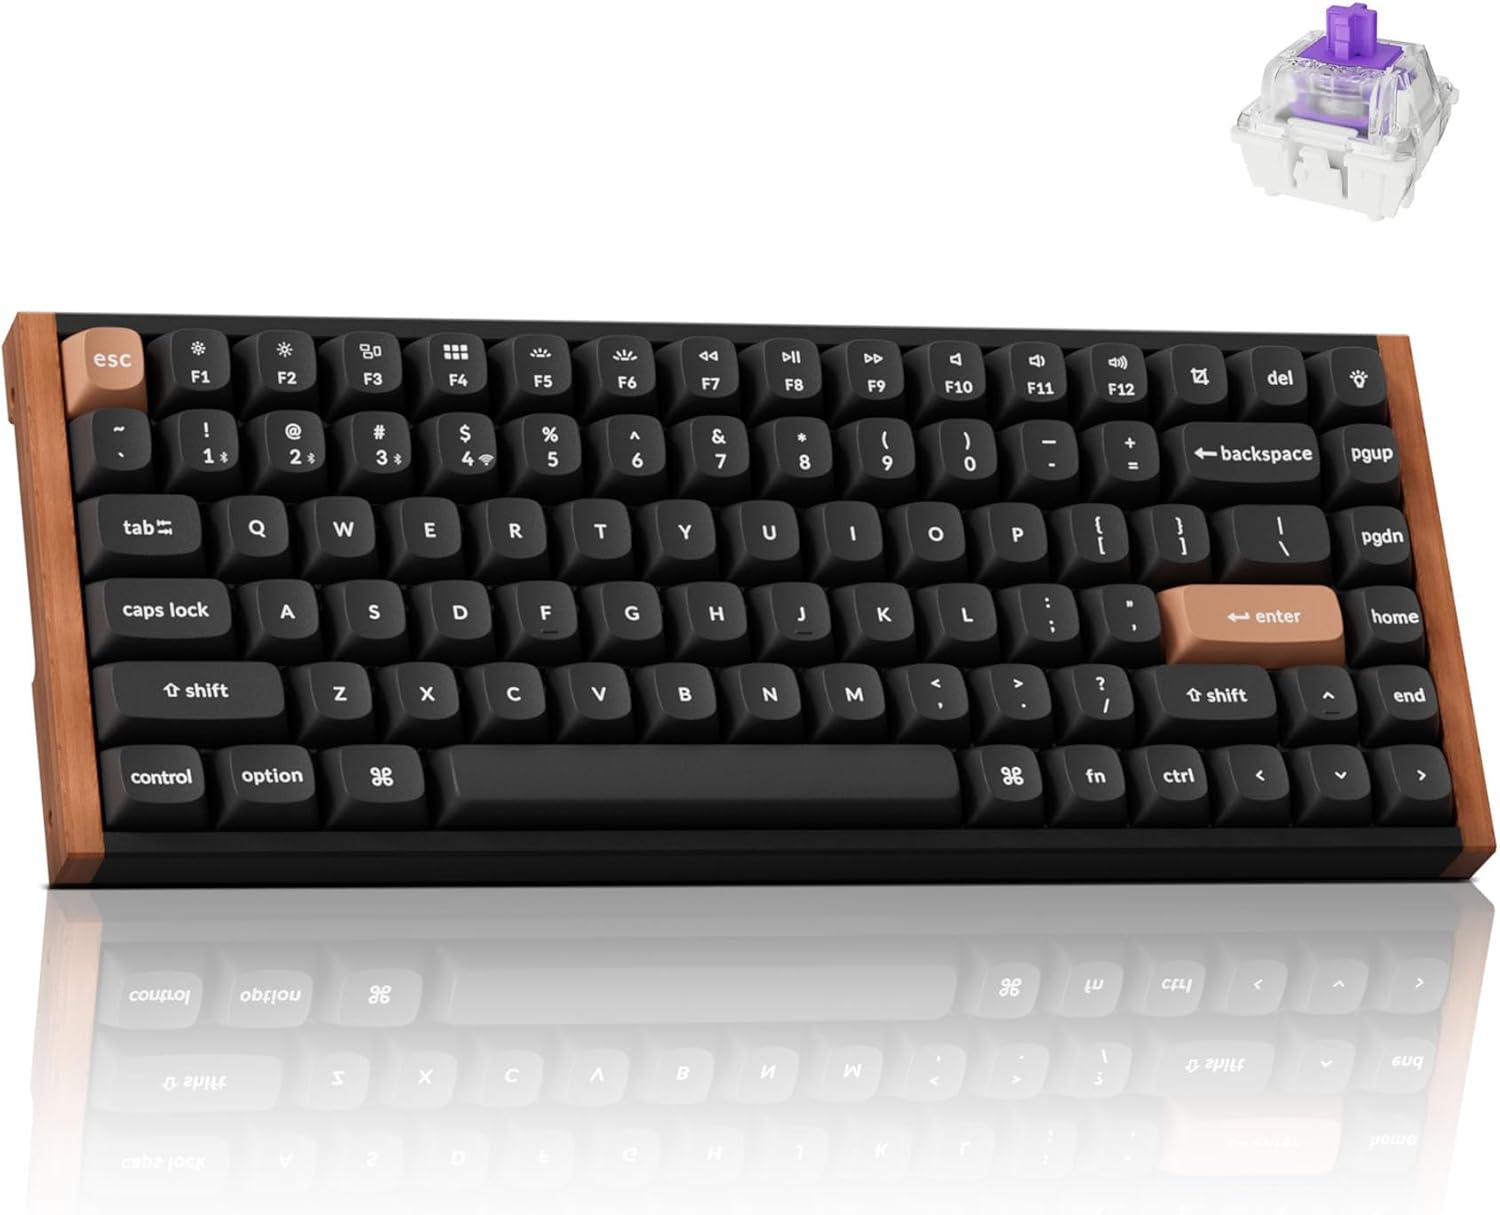
Consider how you want to connect your keyboard. Wired connections offer the lowest latency, ideal for gaming. Wireless keyboards provide more freedom, with Bluetooth and 2.4GHz options available. Some keyboards, like the Keychron K2 HE, offer tri-mode connectivity (wired, Bluetooth, and 2.4GHz), giving you the best of both worlds.
Advanced Customization Techniques
Ready to take your customization to the next level? Here are some advanced techniques:
Switch Lubrication: Smoothness is Key
Lubricating your switches reduces friction and improves smoothness. This is a common practice among enthusiasts and can make a noticeable difference. You'll need switch opener, lubricant (like Krytox 205g0), and a fine brush.
Stabilizer Mods: Taming the Rattles
Stabilizers (stabs) support larger keys like the spacebar and shift keys. Stock stabilizers often rattle, but you can mod them by clipping, lubing, and using band-aids to reduce noise.
Case Foam: Sound Dampening
Adding foam inside your keyboard case can dampen sound and reduce hollowness. This is especially effective for keyboards with plastic cases.
Programmability: QMK/VIA
QMK (Quantum Mechanical Keyboard) and VIA are open-source firmware that allows you to remap keys, create macros, and customize your keyboard's layout. The Keychron K2 HE supports QMK/VIA, giving you unparalleled control over your keyboard's functionality. This is a huge boon for productivity and gaming.
Layouts: Ortholinear and Ergonomic
For the truly adventurous, consider exploring alternative layouts like ortholinear (keys arranged in a grid) or ergonomic layouts (split keyboards, angled keys). These layouts can take some getting used to, but they can improve comfort and reduce strain.
Product Recommendations
Let's highlight some specific products and their customization potential:
- EPOMAKER EA75: A great entry-level keyboard with a versatile 75% layout and hot-swappable switches.
- Keychron K2 HE: A high-performance keyboard with Hall-Effect switches and QMK/VIA programmability. Perfect for gamers and power users.
- AULA F99: A budget-friendly option with tri-mode connectivity and a compact 96% layout.
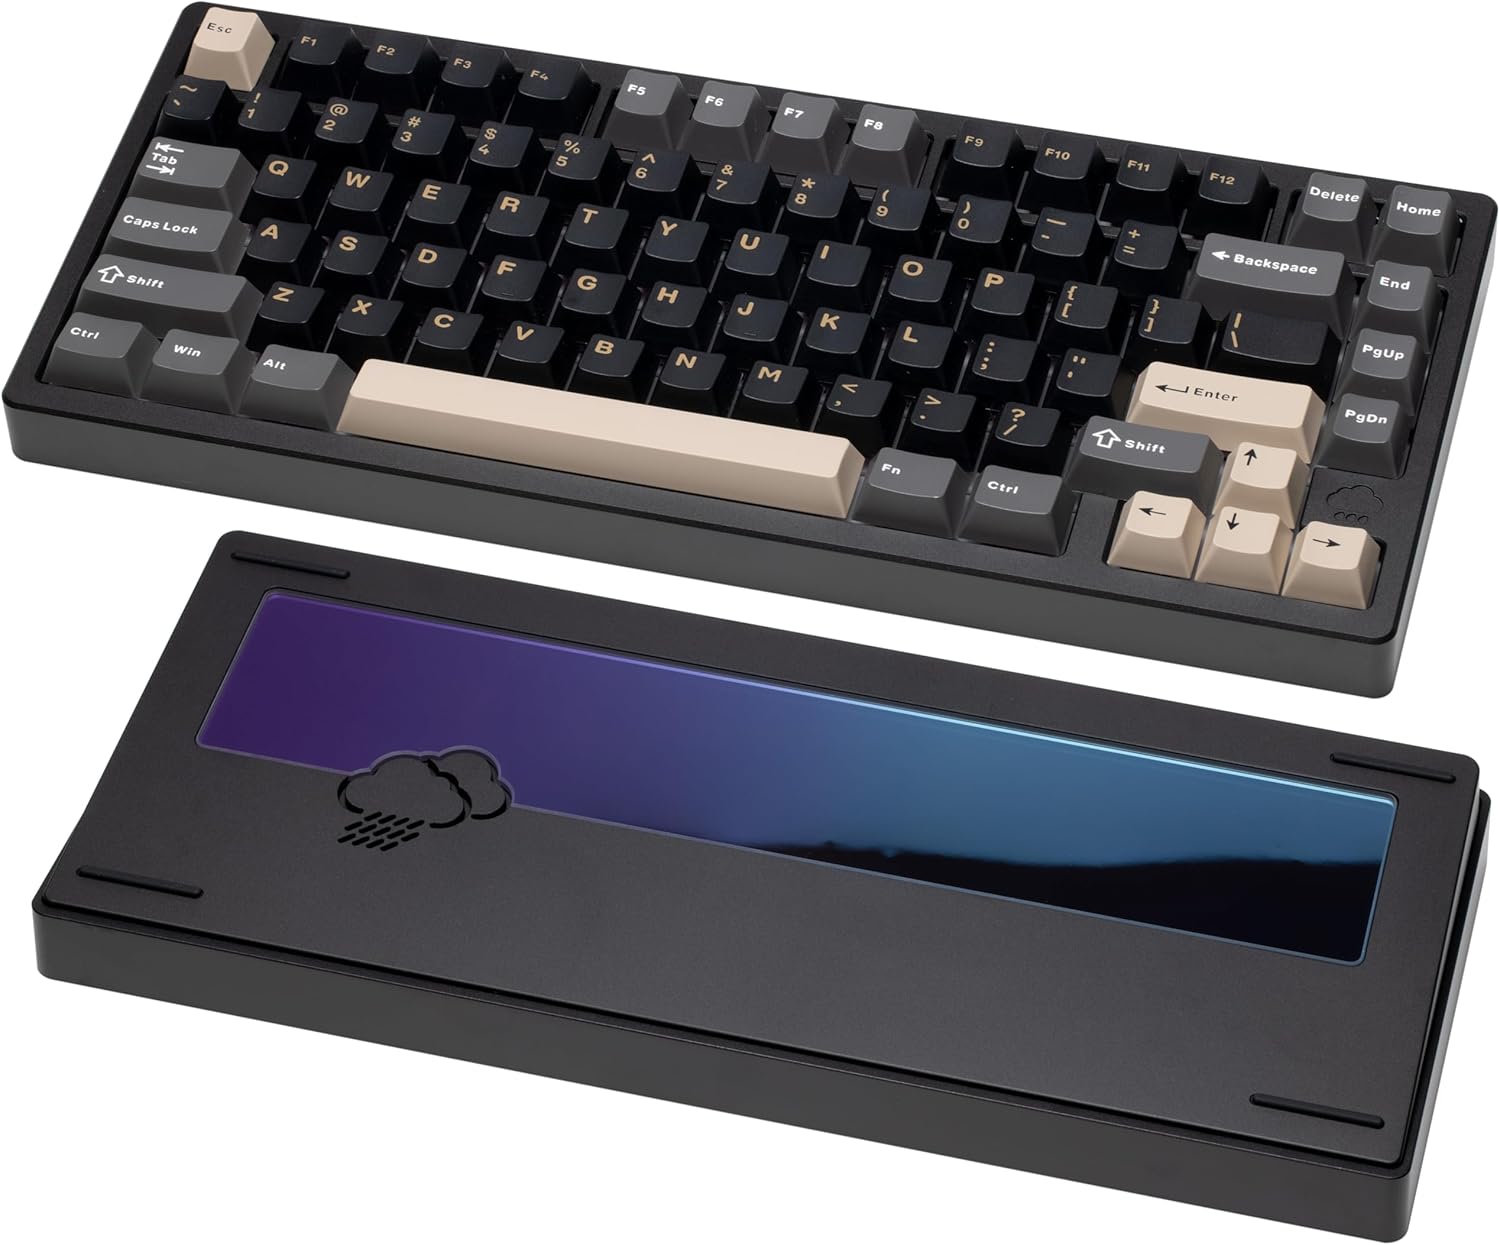
- WOBKEY Rainy 75: A premium keyboard with a solid aluminum case and excellent sound dampening. Ideal for those seeking a refined typing experience.
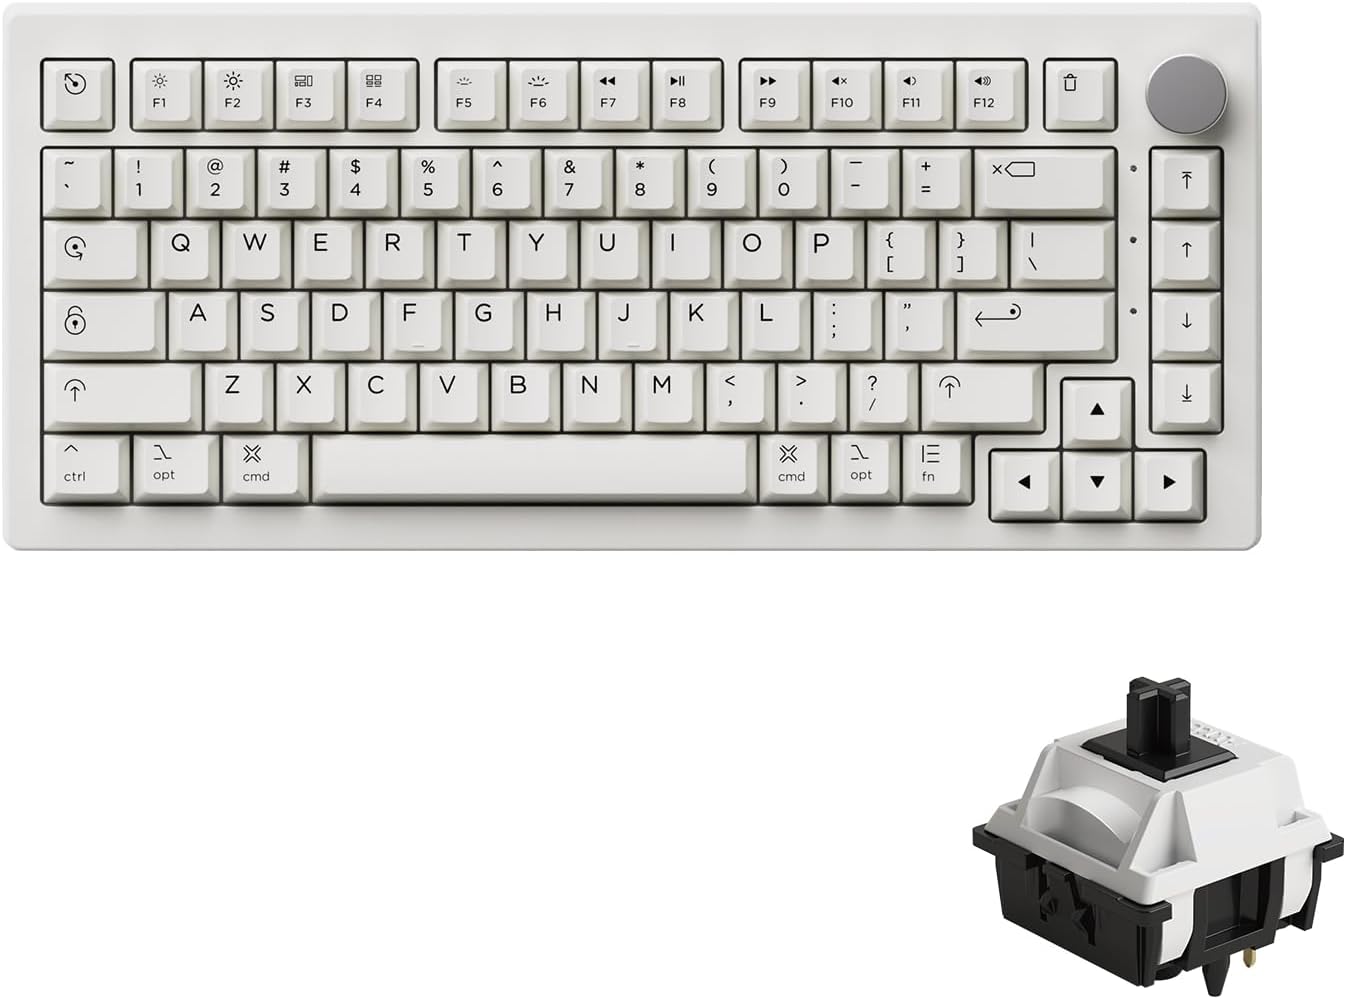
- Akko 5075B Plus Air: A stylish, Mac-themed keyboard with wireless connectivity and customizable RGB lighting. The Akko Cloud Driver lets you customize the knob and other functions.
Video Suggestion: A video demonstrating how to lubricate switches and mod stabilizers.
Tips and Tricks
- Start Small: Don't try to do everything at once. Focus on one or two customizations at a time.
- Do Your Research: Read reviews, watch videos, and ask questions before buying anything.
- Join the Community: The mechanical keyboard community is incredibly helpful and supportive. Join online forums and Discord servers to learn from others.
- Don't Be Afraid to Experiment: The best way to find what you like is to try different things.
Common Questions
- What's the best switch for gaming? Linear switches are generally preferred for their speed and responsiveness.
- What's the best keycap material? PBT is more durable and resistant to shine than ABS.
- How do I clean my mechanical keyboard? Use compressed air and a keycap puller to remove keycaps and clean the keyboard deck.
Conclusion
Customizing your mechanical keyboard is a journey, not a destination. There's always something new to try, something new to learn. Embrace the process, experiment with different options, and most importantly, have fun! Now that you're armed with these tips and tricks, it’s time to explore the world of mechanical keyboard customization. Check out the affiliate links throughout this article to find the perfect keyboard or components to start your journey. Happy clacking!