So, you're ready to take your mechanical keyboard to the next level? Lubing your switches is one of the best ways to dramatically improve the feel and sound of your keyboard. It might seem intimidating at first, but with a little patience and the right tools, you'll be amazed at the difference it makes. This guide will walk you through everything you need to know, from why you should lube your switches to the actual process, and even some product recommendations to get you started.
Why Lube Your Mechanical Keyboard Switches?
Let's face it: stock switches can sometimes be scratchy, pingy, or just plain uninspiring. Lubing addresses these issues by:
- Reducing Friction: Lube smooths out the movement of the switch components, eliminating that scratchy feeling.
- Improving Sound: It dampens unwanted noises like spring ping and housing rattle, resulting in a cleaner, more satisfying sound profile.
- Enhancing Feel: A well-lubed switch feels smoother, more consistent, and more responsive.
- Increasing Longevity: By reducing friction, you're also reducing wear and tear on the switch, potentially extending its lifespan.
What You'll Need
Before you dive in, gather these essential items:
- Mechanical Keyboard Switch Opener: Makes opening switches much easier and safer.
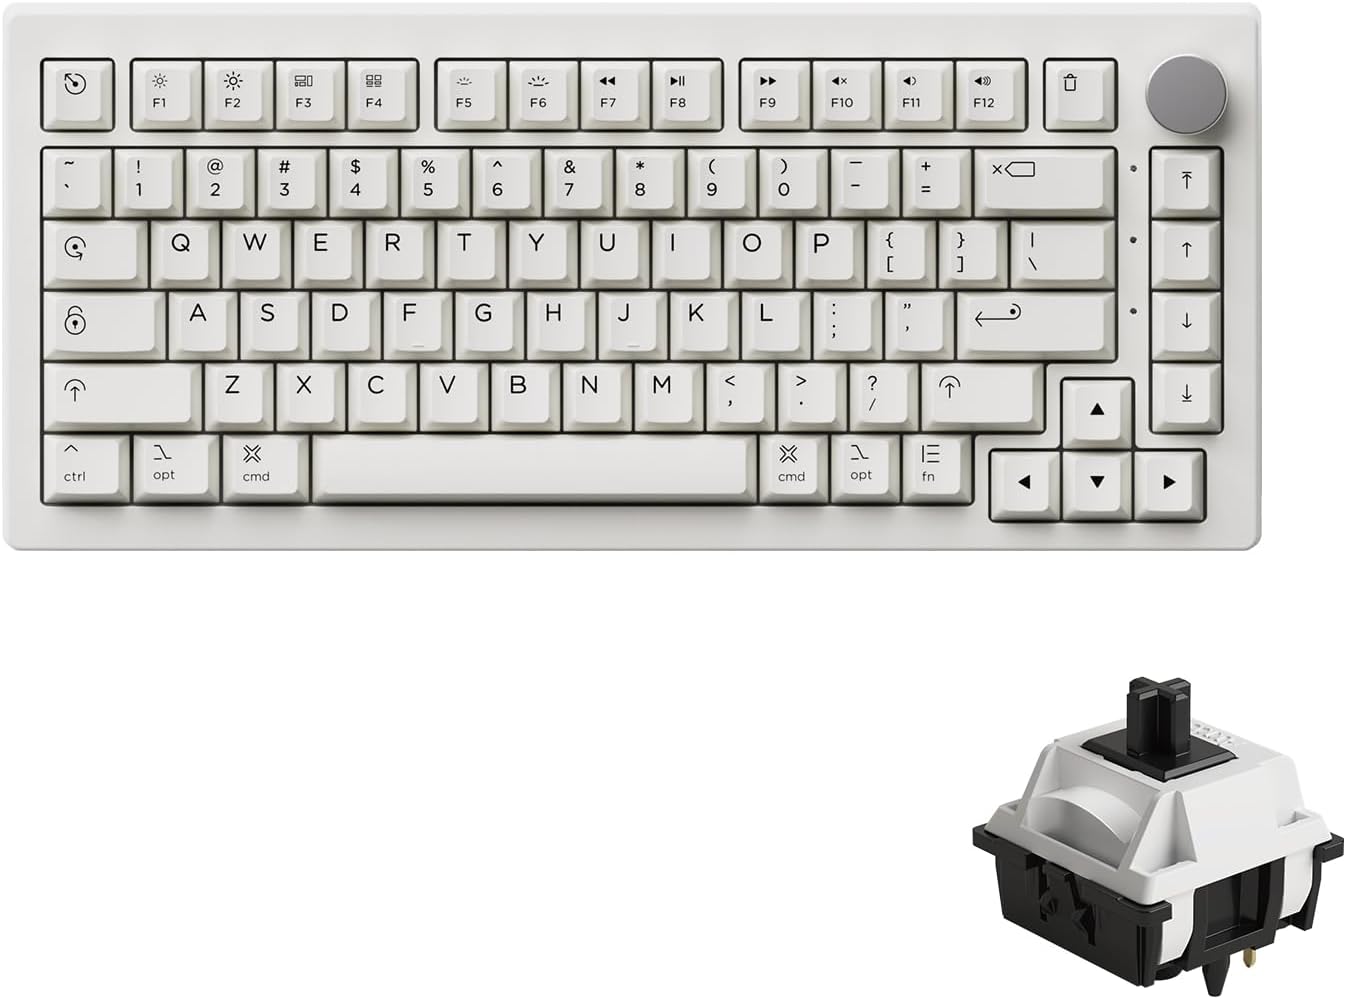
- Switch Puller: To safely remove the switches from your keyboard. (If you have a hot-swappable keyboard, like the Akko 5075B Plus Air, this is crucial!)
Check Price on Amazon
- Small Brush(es): For applying the lube. A small paintbrush or artist brush works well. Smaller brushes allow for more precise application.
- Keycap Puller: To remove the keycaps. Wire keycap pullers are generally preferred to avoid damaging the keycaps.
- Lube: Krytox 205g0 is a popular choice for linear switches, while Tribosys 3203/3204 are often preferred for tactile switches. Experiment to find what you like best.
- Switch Holder/Stem Holder: To hold the switch stem while lubing.
- Clean Workspace: A well-lit and organized area will make the process much easier.
- Patience: This is key! Take your time and don't rush.
Choosing the Right Lube
The type of switch you have will influence the best lube to use:
- Linear Switches: Krytox 205g0 is a popular choice for its smoothness. Consider GPL 105 for springs.
- Tactile Switches: Tribosys 3203 or 3204 are often preferred as they provide a smoother feel without eliminating the tactility. Experiment to see what you prefer.
- Clicky Switches: Lubing clicky switches is generally not recommended, as it can significantly alter or even eliminate the click.
Step-by-Step Lubing Guide
-
Disassemble Your Keyboard:
- Remove the keycaps using a keycap puller.
- If your keyboard is hot-swappable, use a switch puller to remove the switches. Otherwise, you'll need to desolder the switches.
-
Open the Switch:
- Use a switch opener to carefully open the switch housing. This usually involves pressing the switch into the opener until the clips release.
-
Lube the Stem:
- Apply a thin layer of lube to the sides of the stem, avoiding the legs on tactile switches (unless you want to reduce the tactility).
- Use a small brush to spread the lube evenly.
-
Lube the Housing:
- Apply a thin layer of lube to the inside of the bottom housing, focusing on the areas where the stem slides.
- Some people also lube the top housing, but this is optional.
-
Lube the Spring:
- You can either bag-lube the springs (put them in a bag with a small amount of lube and shake) or apply lube to each spring individually.
- Lubing the springs helps to eliminate spring ping.
-
Reassemble the Switch:
- Carefully reassemble the switch, making sure all the parts are properly aligned.
-
Test the Switch:
- Press the switch to make sure it feels smooth and sounds good. If it feels scratchy, you may need to re-lube it.
-
Reinstall the Switches and Keycaps:
- Once you've lubed all the switches, reinstall them into your keyboard and put the keycaps back on.
Hot-Swappable Keyboards: A Game Changer
If the idea of disassembling your entire keyboard seems daunting, consider a hot-swappable keyboard. These keyboards allow you to easily remove and replace switches without soldering. This makes lubing (and experimenting with different switches) a breeze.
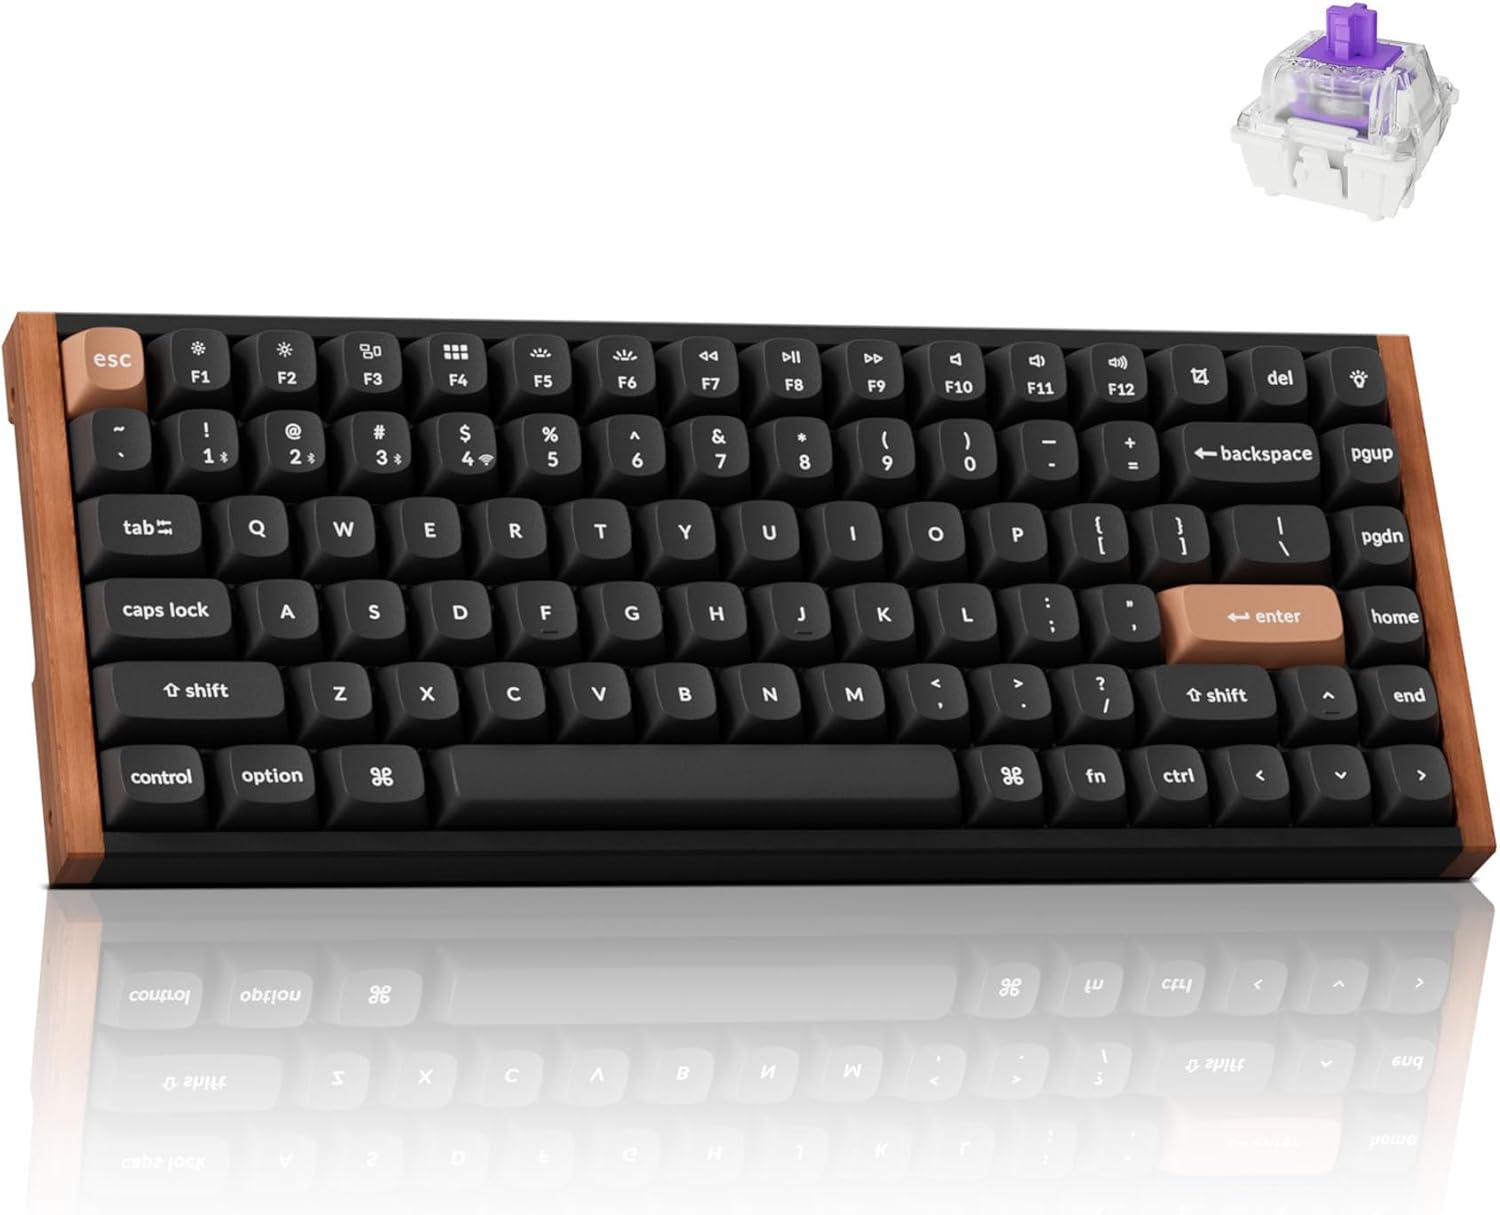
Keyboards like the EPOMAKER EA75 offer hot-swappable sockets, meaning you can change your switches on the fly. This is perfect for experimenting with different switch types and lubing techniques without committing to a permanent setup.

The Keychron K2 HE is another excellent option with hot-swappable capabilities and Hall-Effect Gateron magnetic switches. This keyboard takes customizability to the next level, allowing you to fine-tune the actuation point of each key.
Alternative Keyboard Recommendations
Looking for other keyboard options that provide a fantastic out-of-the-box experience, or are easily customizable? Consider these:
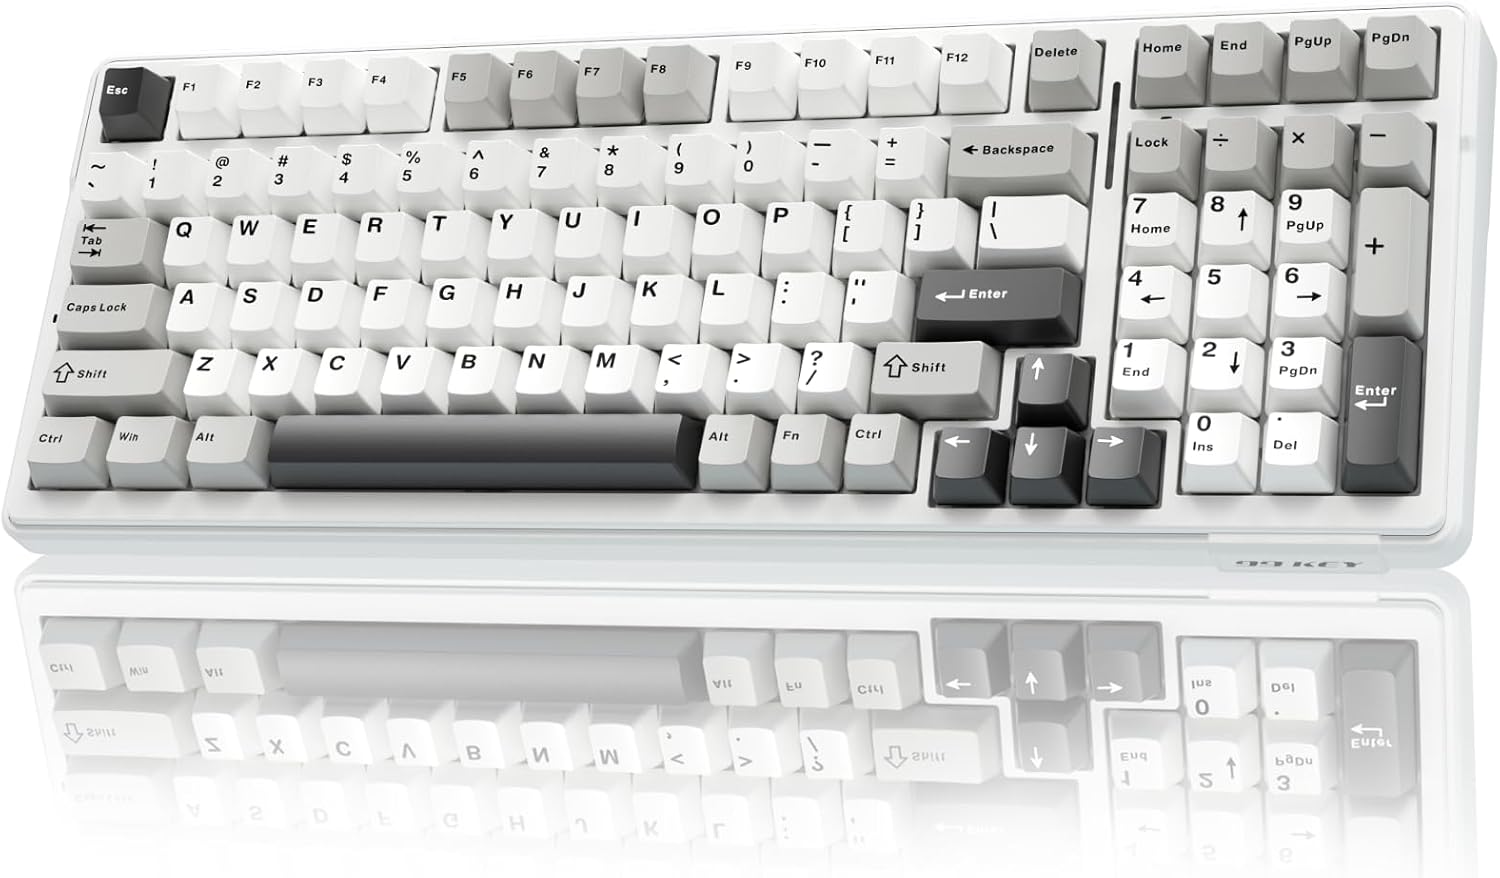
- AULA F99: This keyboard is a great option if you're looking for a 96% layout with a numpad. It features tri-mode connectivity and a large battery, making it perfect for both work and play. Plus, it's hot-swappable!
Check Price on Amazon
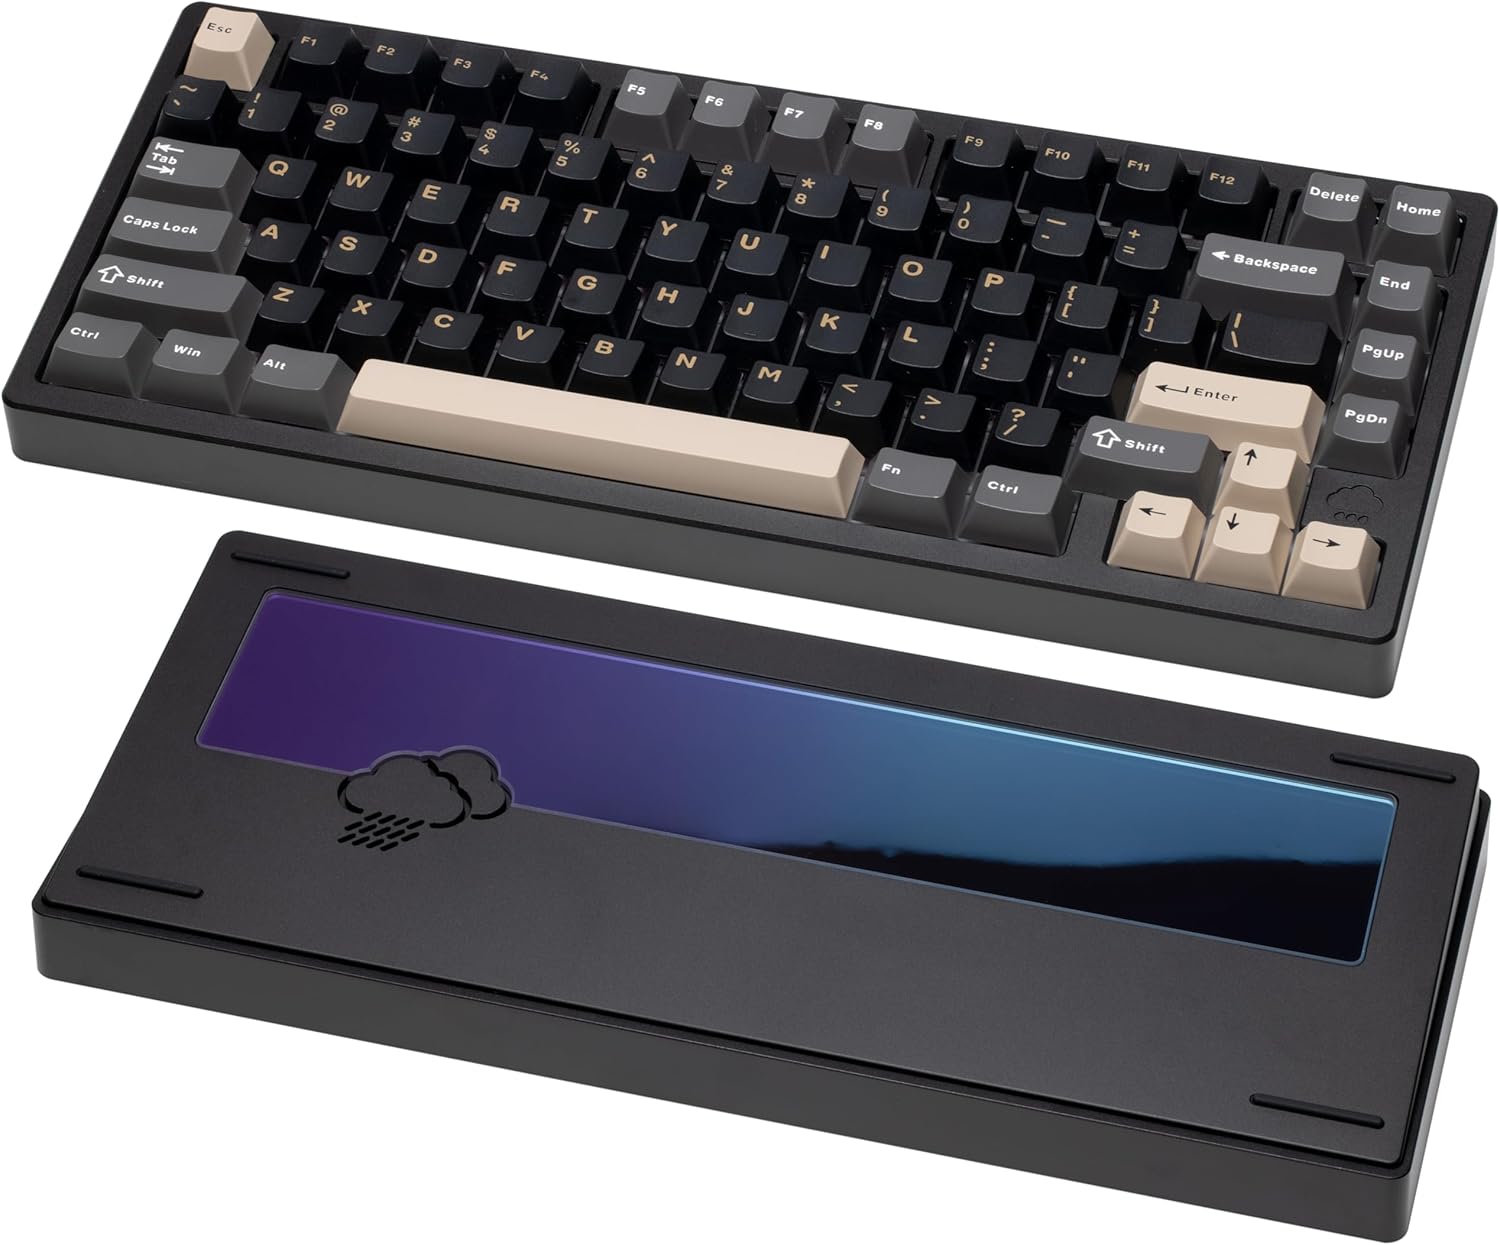
- WOBKEY Rainy 75: For a premium typing experience, the Wobkey Rainy75 is a standout choice. Its solid aluminum case and gasket-mounted design provide a soft and quiet typing experience. It's also hot-swappable, making switch customization a breeze.
Check Price on Amazon
Tips and Tricks for Perfect Lubing
- Use a Thin Layer: Applying too much lube can make the switches feel sluggish. Less is more!
- Be Consistent: Try to apply the same amount of lube to each switch for a consistent feel across the keyboard.
- Clean Your Tools: Keep your brushes and switch opener clean to avoid contamination.
- Practice Makes Perfect: Don't be discouraged if your first attempt isn't perfect. With practice, you'll get the hang of it.
Common Mistakes to Avoid
- Lubing the Tactile Legs: This will reduce or eliminate the tactility of the switch.
- Using Too Much Lube: This can make the switches feel sluggish and unresponsive.
- Getting Lube on the PCB: This can cause shorts and damage your keyboard.
- Forgetting to Test: Always test each switch after lubing to make sure it feels right.
Is Lubing Worth It?
Absolutely! Lubing your mechanical keyboard switches is one of the most impactful modifications you can make. It transforms the typing experience, making it smoother, quieter, and more enjoyable. While it requires some time and effort, the results are well worth it.
Ready to take the plunge? Explore the products mentioned in this guide and start your lubing journey today! Don't forget to share your experiences and ask any questions in the comments below.