
So, you're tired of that scratchy, pingy sound your mechanical keyboard makes? You've come to the right place. Lubing your keyboard switches can dramatically improve the feel and sound of your typing experience. It might seem daunting, but with the right tools and a little patience, you can transform your keyboard into a smooth, satisfying machine. This guide will walk you through the process, offering tips and tricks to get the best results.
Why Lube Your Keyboard Switches?
Before we dive in, let's understand why lubing is so beneficial:
- Reduced Noise: Lubing eliminates the friction between switch parts, significantly reducing scratchiness and ping. This is especially noticeable on keyboards with metal top plates.
- Smoother Feel: A well-lubed switch offers a much smoother and more consistent keypress. This can improve typing speed and reduce fatigue.
- Enhanced Sound Profile: Lubing can deepen the sound of your keyboard, making it sound more premium and less "tinny."
- Increased Lifespan: By reducing friction, you can potentially extend the lifespan of your switches.
What You'll Need
Here's a list of essentials:
-
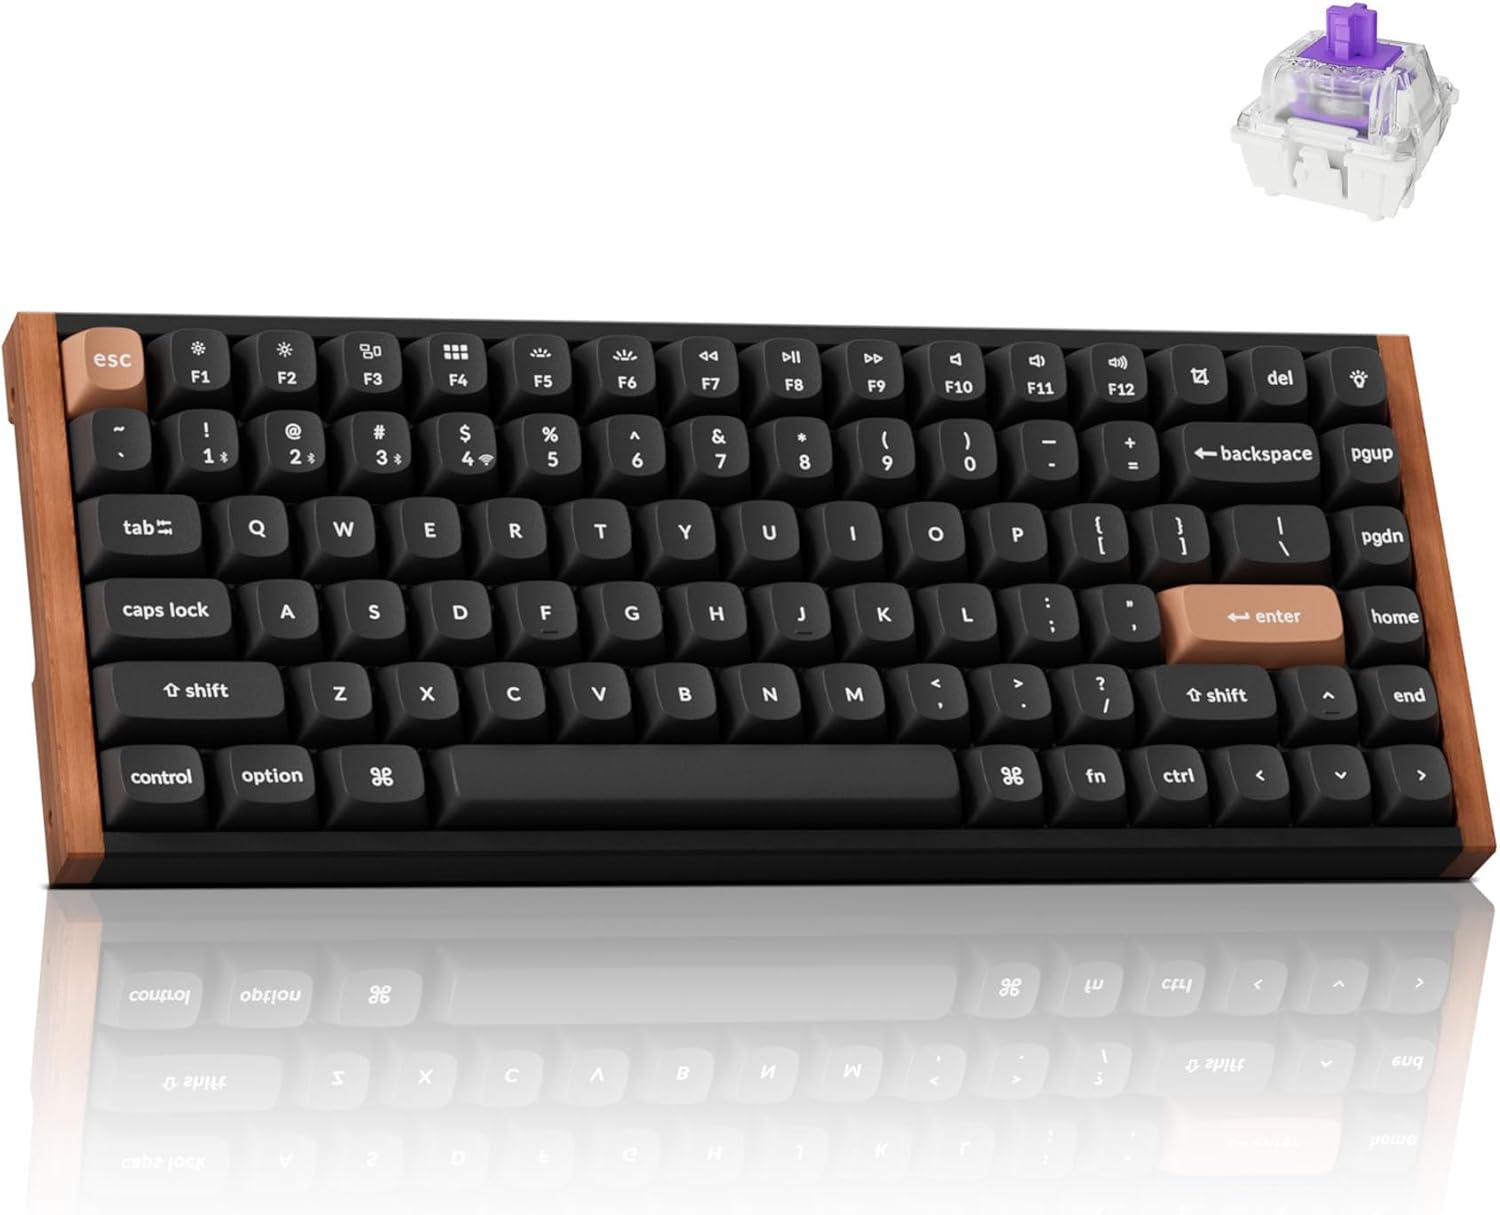
Mechanical Keyboard: Obviously! A hot-swappable keyboard makes this process much easier. Consider the EPOMAKER EA75, a fantastic 75% keyboard with hot-swappable sockets. Its tri-mode connectivity and versatile rotary knob make it a great choice for both beginners and experienced enthusiasts. The factory-lubed switches are a good starting point, but lubing them yourself takes it to the next level.
 Check Price on Amazon
-
Switch Opener: A tool designed to safely open mechanical keyboard switches. Avoid using screwdrivers, as they can damage the switch housing.
-
Switch Puller: For removing switches from your keyboard if it's hot-swappable.
-
Keycap Puller: To remove the keycaps, of course! Wire keycap pullers are generally preferred as they are less likely to scratch your keycaps.
-
Lubricant: This is the heart of the operation. Popular choices include Krytox 205g0, Tribosys 3203/3204, and GPL 105 (for springs). Research and choose one that suits your preference.
-
Small Brushes: Small paintbrushes (size 0 or 00) are ideal for applying the lube precisely.
-
Stem Holder (Optional): This can help hold the switch stem while you're lubing it.
-
Clean Workspace: A well-lit and organized workspace is crucial.
-
Patience: Lubing switches is a time-consuming process. Don't rush it!
Step-by-Step Lubing Guide
-
Disassemble Your Keyboard:
- Remove the keycaps using your keycap puller. Consider taking a picture of your keyboard layout before removing all the keycaps, especially if you are new to mechanical keyboards.
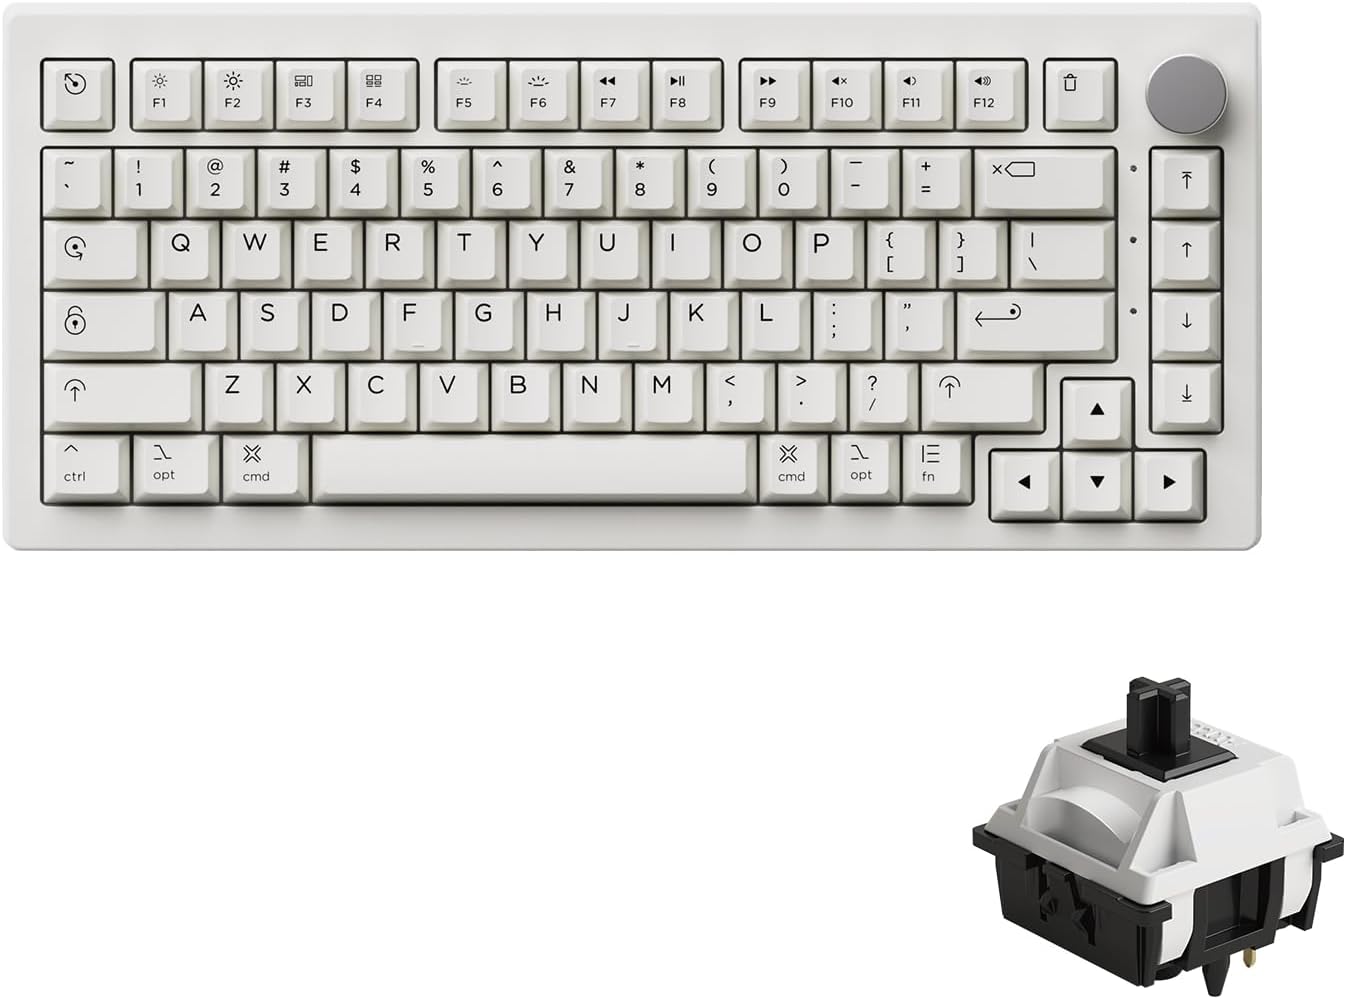
- If your keyboard is hot-swappable (like the Keychron K2 HE), use the switch puller to remove the switches. The Keychron K2 HE's hot-swappability and customizable actuation points make it an excellent platform for experimenting with different switch lubing techniques. Its robust wireless connectivity and QMK/VIA programmability are cherries on top.
 Check Price on Amazon
- If your keyboard is not hot-swappable, you'll need to desolder the switches, which is a more advanced process. (We won't cover desoldering in this guide.)
-
Open the Switches:
- Use the switch opener to carefully open each switch. There are two main types of switch openers: one for Cherry MX-style switches and another for Kailh-style switches. Make sure you're using the correct one.
- Gently separate the top housing, stem, spring, and bottom housing.
-
Lubing the Components:
- Stem: Apply a thin layer of lube to the stem sliders (the parts that slide against the switch housing). Avoid lubing the legs of tactile or clicky switches, as this can reduce the tactility or click.
- Housing: Apply a small amount of lube to the inside of the bottom housing, where the stem sliders make contact.
- Spring: Lightly lube the spring by applying a small amount of lubricant to the top and bottom of the spring. Some people prefer to bag-lube their springs by placing them in a small bag with lubricant and shaking gently.
-
Reassemble the Switches:
- Carefully reassemble the switch components in the correct order: bottom housing, spring, stem, and top housing.
- Ensure the top housing is securely closed.
-
Test the Switch:
- Before reinstalling the switch into your keyboard, test it by pressing down on the stem. It should feel smooth and consistent.
-
Reinstall the Switches and Keycaps:
- If your keyboard is hot-swappable, simply push the lubed switches back into their sockets.
- Replace the keycaps.
Tips and Tricks
- Less is More: Over-lubing can make your switches feel sluggish and mushy. Start with a small amount of lube and add more if needed.
- Use the Right Lube: Different lubricants have different properties. Research and choose one that suits your preferences and switch type.
- Don't Lube Tactile Legs (Usually): As mentioned earlier, avoid lubing the legs of tactile or clicky switches unless you want to reduce the tactility or click.
- Clean Your Brushes: Keep your brushes clean to avoid contaminating your lubricant.
- Take Breaks: Lubing a full keyboard can take several hours. Take breaks to avoid fatigue.
- Consider Filming: Switch films are thin plastic or foam shims that fit between the top and bottom housings of a switch, reducing wobble and improving sound. Consider using them in conjunction with lubing.
Product Recommendations
While the EPOMAKER EA75 and Keychron K2 HE are excellent choices, here are a couple more keyboards that are great for switch lubing:
-
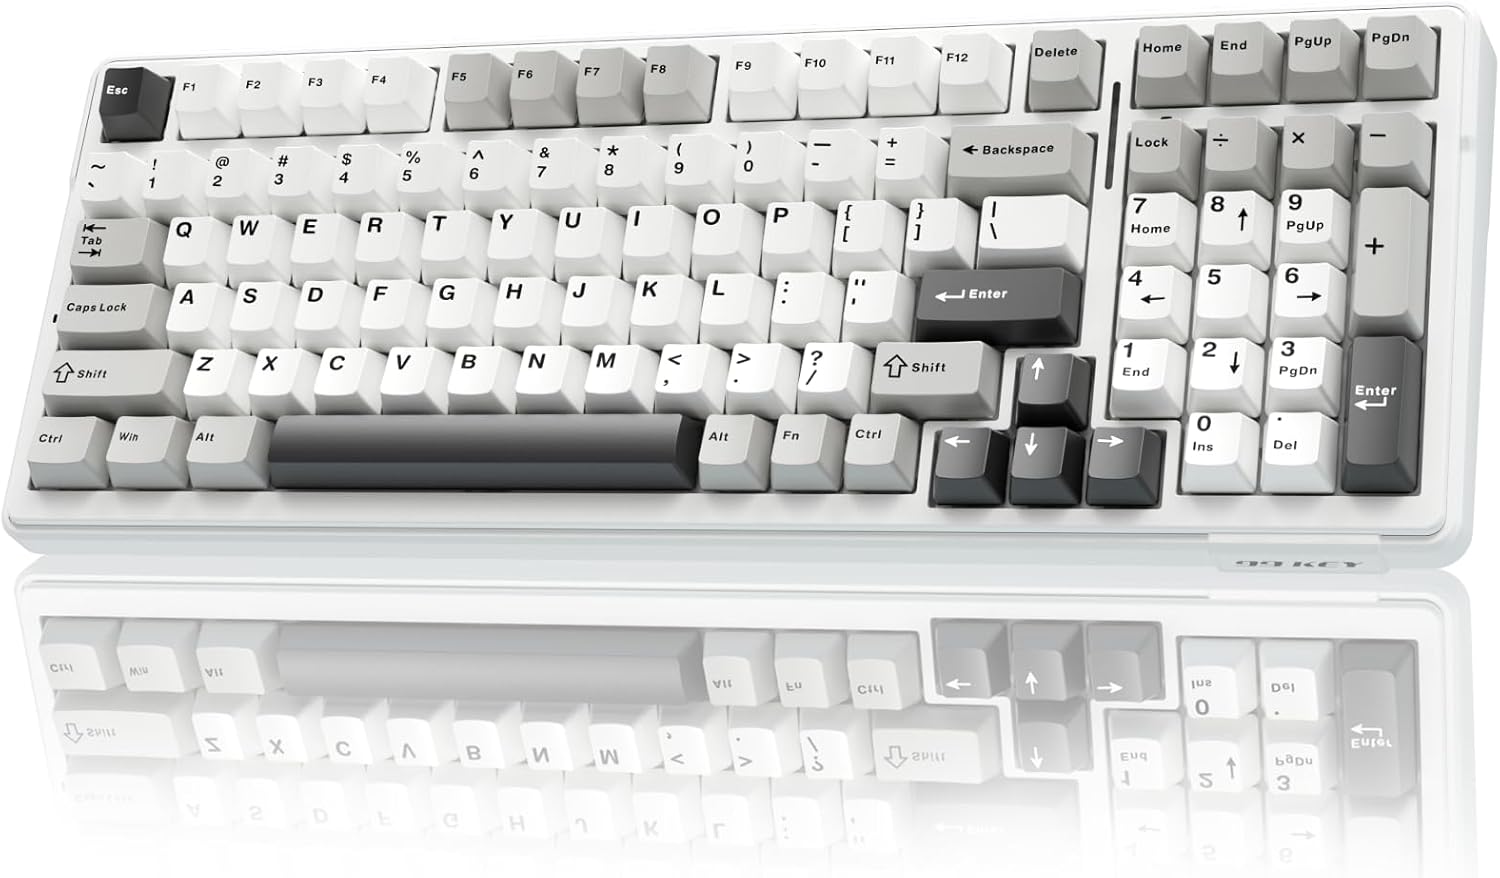
AULA F99: This 96% keyboard offers tri-mode connectivity and a large battery. Its gasket-mounted structure and pre-lubed linear switches provide a solid base for further customization. The AULA F99's hot-swappable sockets and vibrant RGB lighting make it a versatile choice for both typists and gamers.
 Check Price on Amazon
-
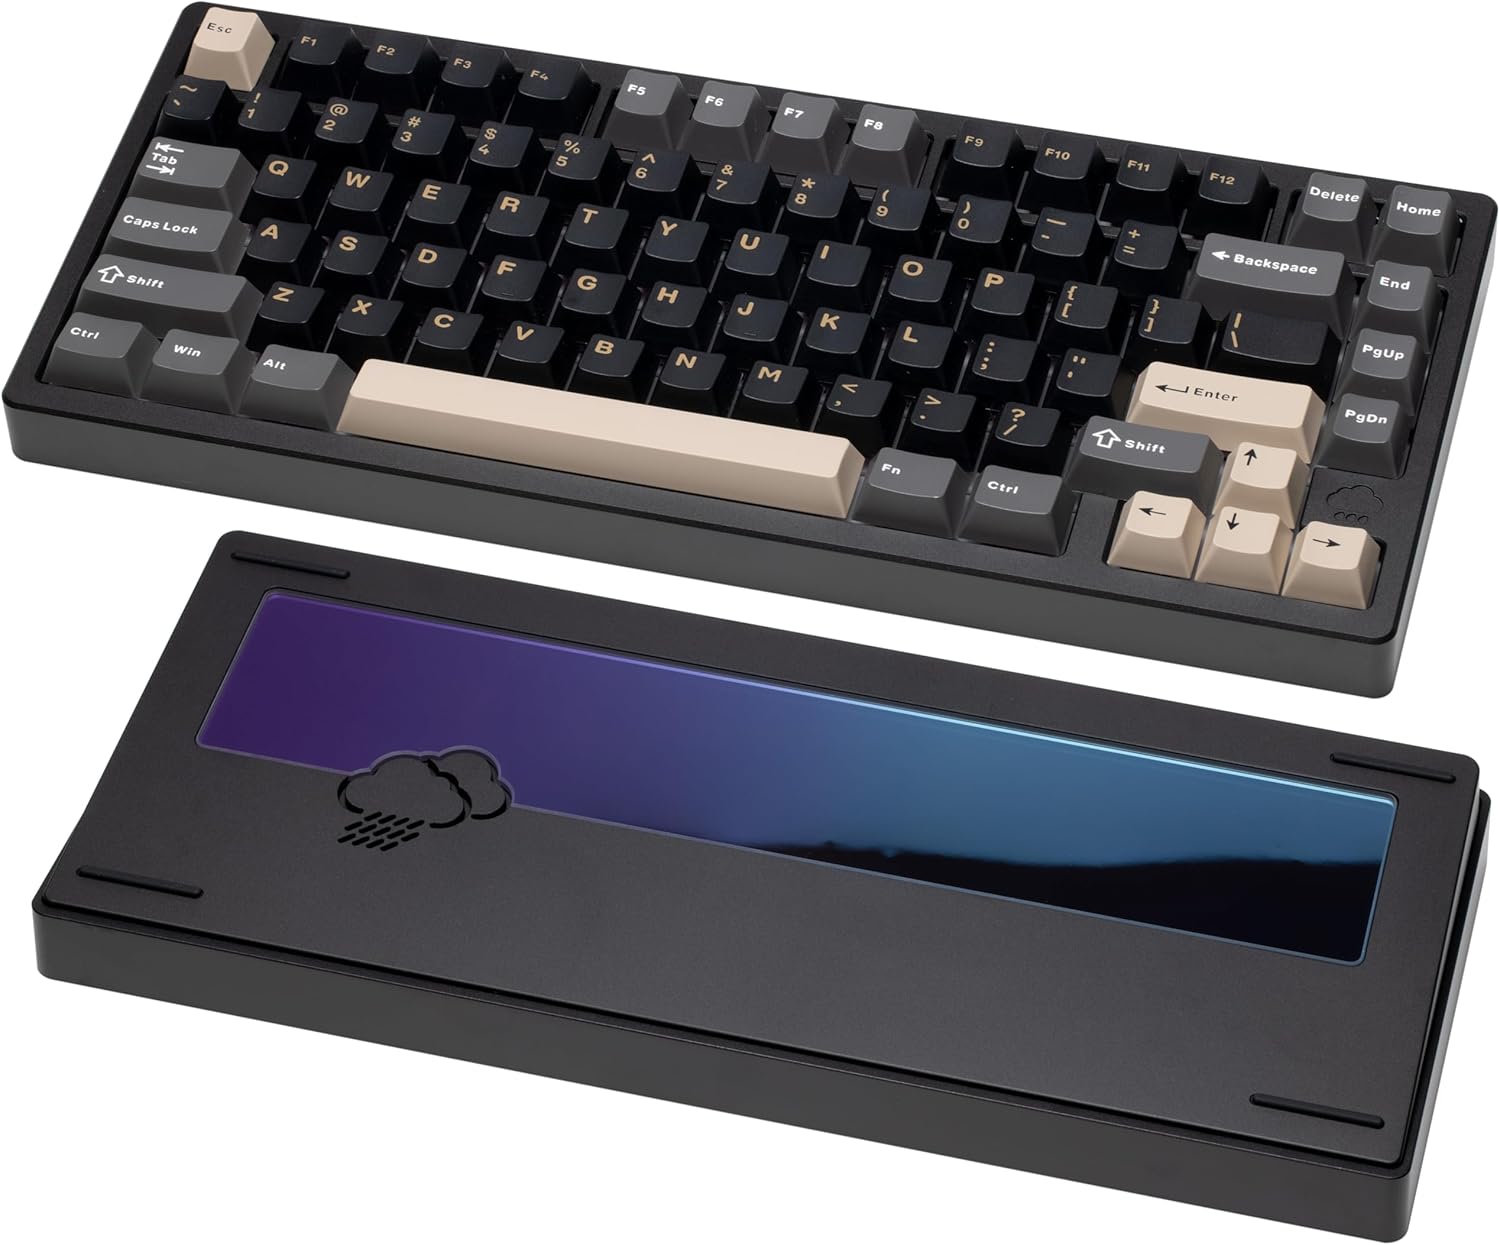
WOBKEY Rainy 75: If you're looking for a premium typing experience, the Wobkey Rainy75 is a great option. Its solid aluminum case, five-layer acoustic dampening, and gasket-mounted design provide a soft and quiet typing experience. The Rainy75's hot-swappable switches and south-facing RGB lighting make it a highly customizable keyboard.
 Check Price on Amazon
-
Akko 5075B Plus Air: This Mac-themed keyboard features hot-swappable sockets and durable PBT keycaps. Its tri-mode connectivity and programmable RGB backlight make it a versatile choice for both work and play. The Akko Cloud Driver allows for easy customization of the keyboard's functions.
 Check Price on Amazon
Conclusion
Lubing your mechanical keyboard switches is a rewarding process that can significantly improve your typing experience. It requires patience and attention to detail, but the results are well worth the effort. So, grab your tools, choose your favorite keyboard (maybe one of the ones we recommended!), and get lubing!
What are your favorite lubing techniques? Share your tips and experiences in the comments below!