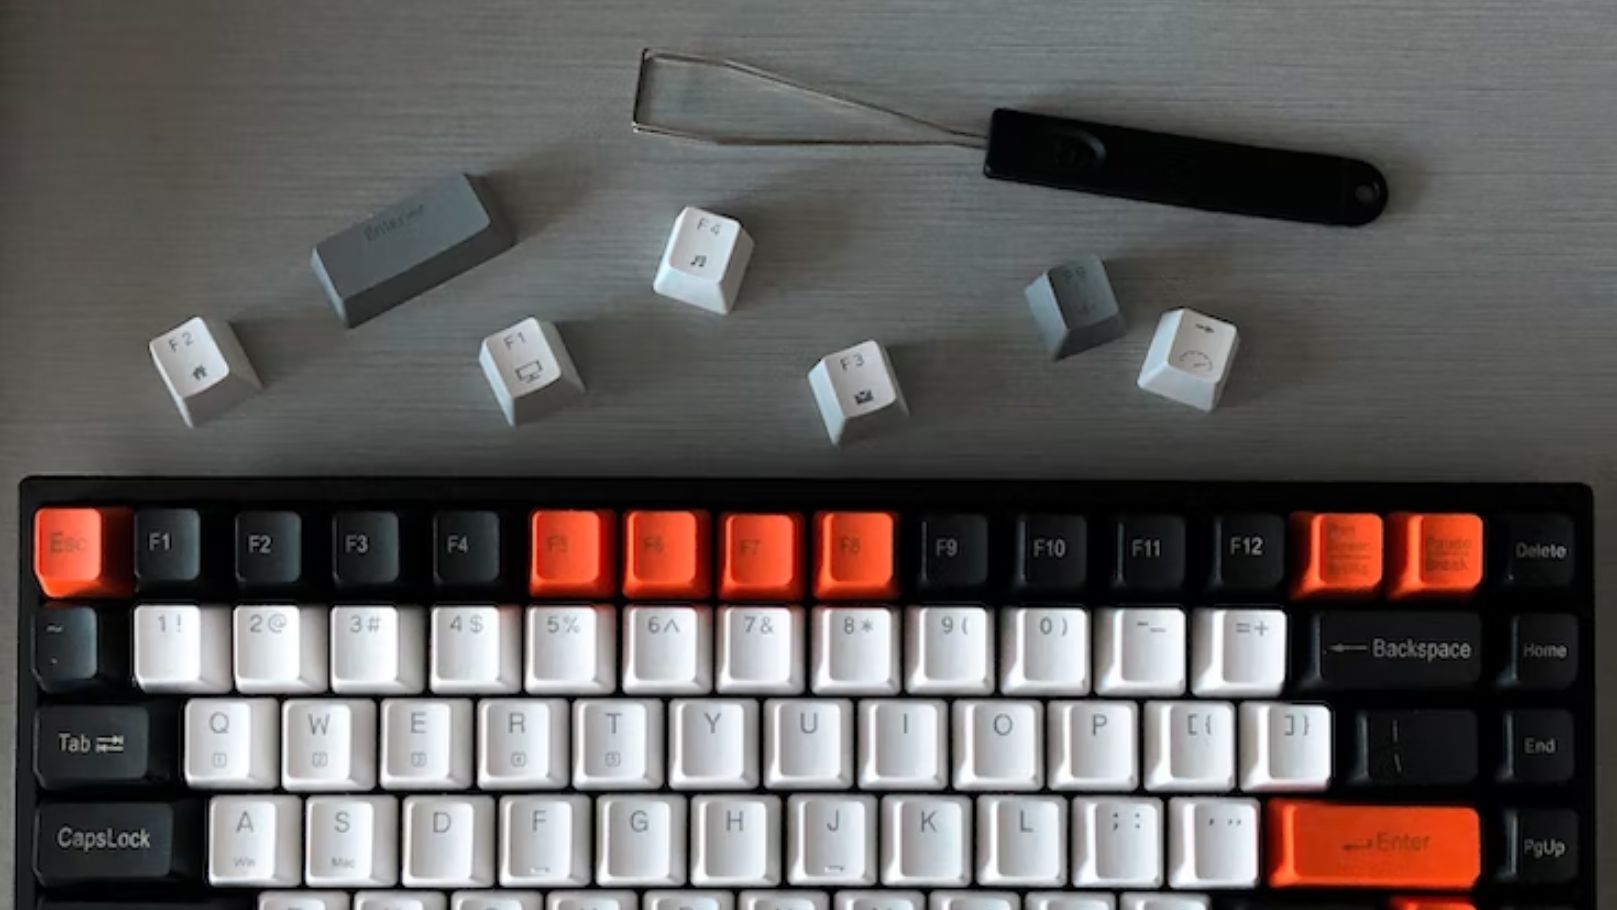
Knowing how to clean keycaps properly is one of the easiest ways to keep your mechanical keyboard performing and looking its best. Oils, dust, and debris build up faster than you'd expect — and a quick clean every few weeks can prevent the kind of grimy buildup that requires a full soak to fix.
This guide covers everything from a 5-minute surface clean to a complete deep clean with removal and soaking.
What You'll Need
For a quick surface clean you only need a soft brush and a microfiber cloth. For a full deep clean, gather:
- Keycap puller
- Warm water + a few drops of dish soap
- A bowl or container large enough to hold all your keycaps
- Soft brush or toothbrush
- Microfiber cloth
- Compressed air or electric air blower
- Tweezers, for anything wedged down inside a switch housing
- A work mat (optional, but helpful for organizing keycaps during reinstall)
Having the right tools on hand makes the process faster and reduces the chance of damaging your switches or keycaps.
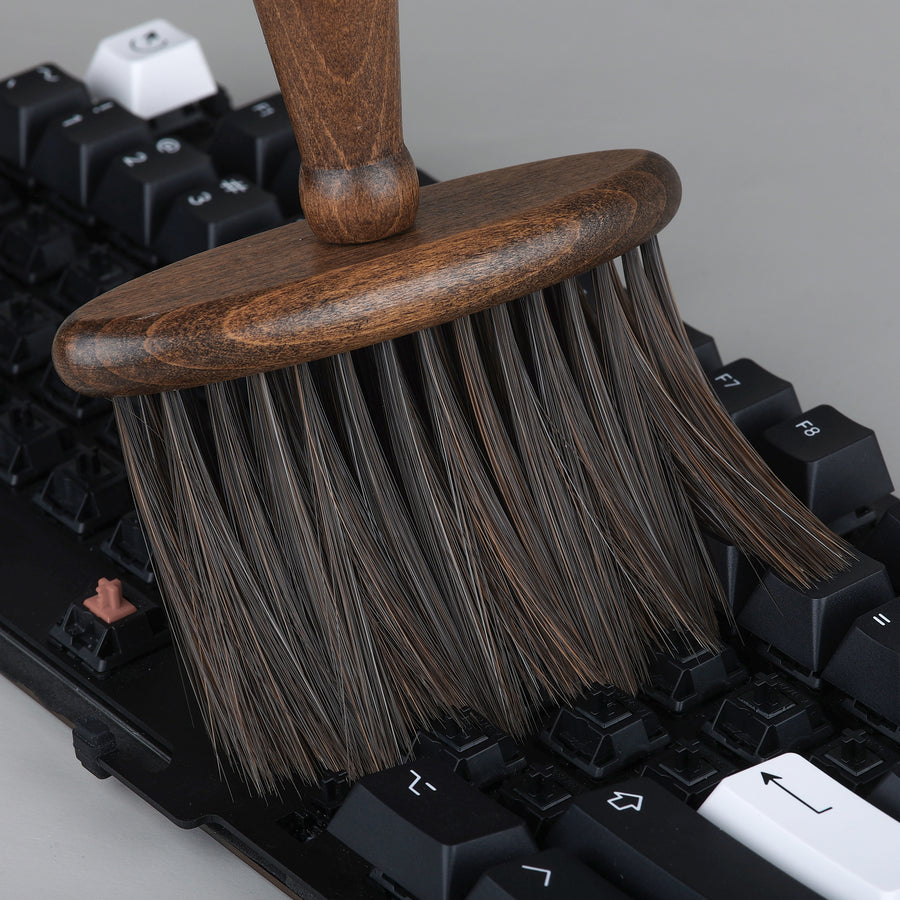
KBDfans Keyboard Mahogany Cleaning Brush
A wide 138mm wood-handled brush for sweeping dust and hair out of a board once the keycaps are off. The bristles are soft fiber and the head is wood rather than plastic, so nothing in the tool can scratch a case or a keycap set. It's also the brush to reach for during the soak — soft enough to scrub a dye-sub legend without touching it.
Pros: Soft fiber bristles, wide head clears a row per pass, nothing plastic to scratch a case Cons: Won't reach inside a switch housing — that's a tweezers job
How to Remove Keycaps Safely
Before anything touches water, the keycaps need to come off. Always unplug your keyboard first — or power it off if it's wireless.
Using a keycap puller: Slide the wire loop of the puller under two opposing corners of the keycap, then lift straight up with even pressure. Avoid rocking or twisting, which can stress the stem.
No puller? You can use two thin flat objects (like flathead screwdriver tips wrapped in tape), but a proper keycap puller is worth the few dollars it costs. Our keycap puller guide covers wire vs ring pullers, the stabilized keys that need extra care, and the safest no-puller fallbacks.
Take a photo before you start. It sounds obvious, but a quick photo of your full layout saves time when it comes to putting everything back — especially if you have any non-standard modifier sizes.
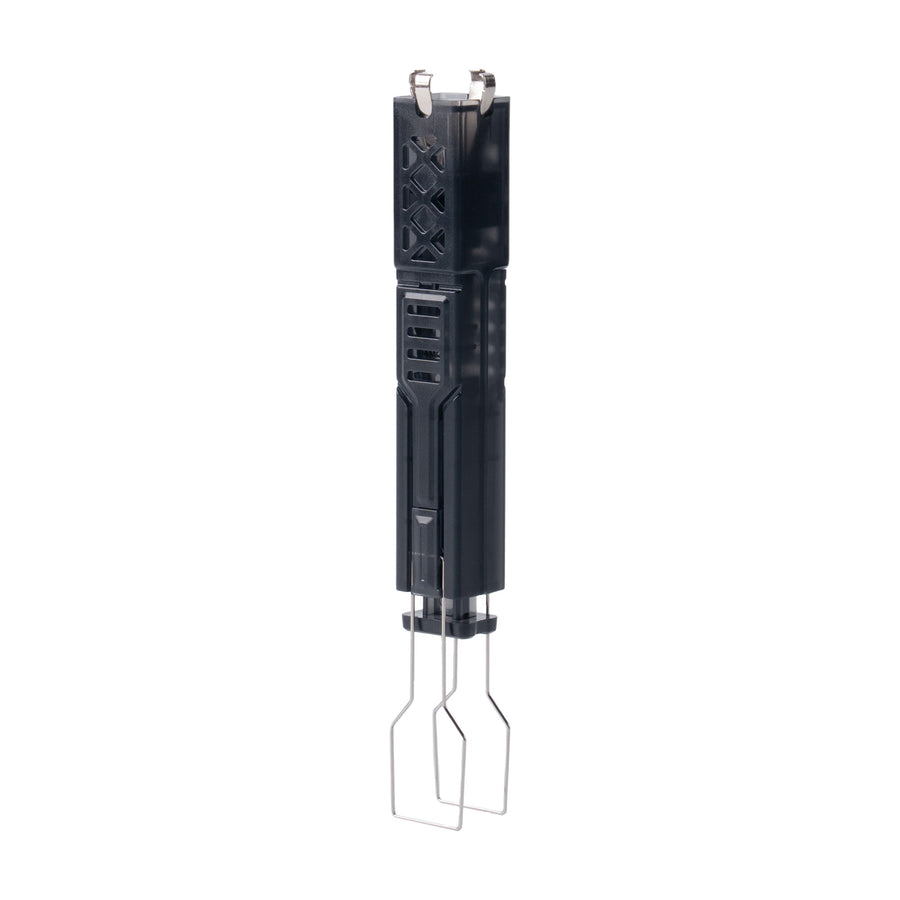
Keychron 2-in-1 Switch and Keycap Puller
A single dual-ended tool that covers both jobs: one end is a wire-loop keycap puller, the other is a clamp that grips the upper and lower latches of a switch so it lifts straight out of a hot-swap socket. Gripping the latches instead of prying is the point, because prying is what bends switch pins. If you only buy one removal tool before a deep clean, this is the one to buy.
Pros: Wire loop won't scuff keycap sides, doubles as a switch puller, costs a few dollars Cons: The switch end only helps on hot-swap boards
Deep Cleaning Keycaps: The Soak Method
The soak method is the most thorough way to clean keycaps and works well for PBT and ABS sets alike.
Step 1 — Fill a bowl with warm soapy water. A few drops of dish soap is all you need. Avoid hot water, which can warp keycaps over time.
Step 2 — Add the keycaps and let them soak. 30–60 minutes handles most buildup. For heavily soiled keycaps, you can leave them up to a few hours.
Step 3 — Scrub if needed. Use a soft brush to gently scrub any stubborn spots. The legends on dye-sublimated or double-shot PBT keycaps are extremely durable and won't be damaged by gentle brushing. Pad-printed legends (found on budget keycaps) are more fragile — skip scrubbing those.
Step 4 — Rinse thoroughly. Run the keycaps under clean water until all soap residue is gone. Soap left on the surface can attract more dust.
Step 5 — Dry completely before reinstalling. Lay keycaps on a clean microfiber cloth and let them air-dry for several hours — overnight is ideal. Putting damp keycaps back on can introduce moisture into your switches.
Microfiber Cleaning Cloths
Essential for wiping down keycaps after soaking and for surface cleaning without scratching. A multi-pack is what you want rather than a single cloth: one goes under the drying keycaps, one stays damp for wiping the case, one stays dry for the final pass. You'll use the rest on screens, desks, and lenses.
Pros: Lint-free, gentle on keycap surfaces, washable and reusable Cons: Not useful for between-key cleaning

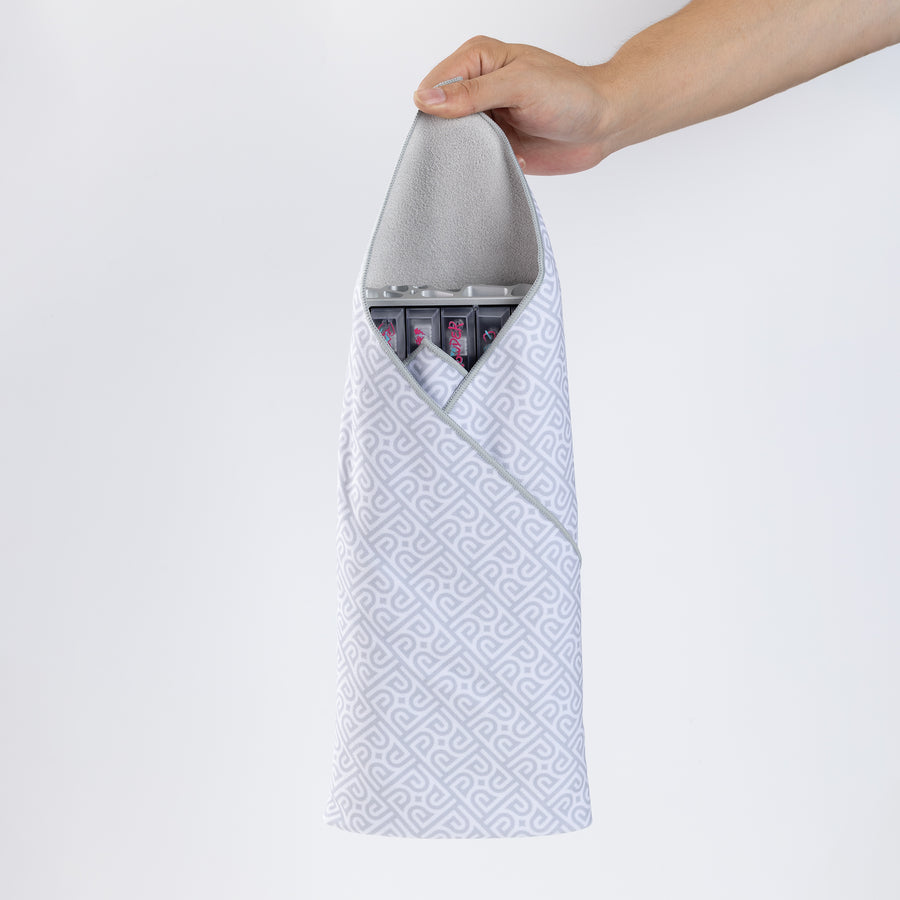
KBDfans Magic Wrapper Cloth
A 490mm square cloth that unfolds into a work mat and wraps the keyboard for transport. Laid flat it gives you a clean, soft surface to lay a hundred-plus keycaps out in layout order while they dry, which is the difference between a fifteen-minute reinstall and an hour of hunting for the right modifier.
Pros: Doubles as a travel wrap, soft face won't mark keycaps, folds away flat Cons: No raised lip, so it won't stop a spring rolling off the edge
How to Clean Keyboard Keycaps Without Removing Them
If you're doing routine maintenance rather than a deep clean, you don't need to pull every keycap off. Here's a fast workflow:
- Power off or unplug the keyboard.
- Turn it upside down and tap lightly to dislodge any loose debris.
- Use compressed air or a soft brush to clear dust from between the keys.
- Wipe down the keycap surfaces with a slightly damp microfiber cloth.
- Follow up with a dry cloth to remove any moisture.
This takes about 5 minutes and is worth doing every couple of weeks, especially if you eat near your keyboard or work in a dusty environment.
Falcon Dust Compressed Air
Compressed air cans are the fastest way to blast debris from between keys without pulling anything off. Useful for the weekly pass above, and for clearing around switches once the keycaps are already off. Keep the can upright and use short bursts — tipping it can spray propellant onto the board.
Pros: Fast, no setup required, reaches between keycaps you haven't removed Cons: Single-use cans; an electric air blower is a better long-term investment

Cleaning the Keyboard Plate While Keycaps Are Off
If you've already gone through the effort of pulling all your keycaps off, it's a good time to clean the plate and switch tops too.
- Use compressed air to blow dust out from around each switch.
- A cleaning gel (also called cyber clean) pressed into the gaps does a good job of picking up fine particles that air can't reach.
- A soft brush lightly dampened with isopropyl alcohol can clean around switch tops and the plate surface. Let it dry completely before reinstalling keycaps.
- For a hair or a crumb wedged down inside a switch housing, use tweezers rather than more air — air tends to drive it further in.
Avoid getting any liquid into the switch housing. For most cleaning tasks, compressed air and a dry brush are safer than any liquid.
Dust Cleaning Gel
Electronics cleaning gel works by conforming to the shape of your keyboard surface and lifting fine dust and crumbs that a cloth can't reach. Press it into the spaces around the switches, then peel it away. Replace it when it stops springing back or starts leaving residue — a tired gel does more harm than good.
Pros: Great for fine debris, reusable, no liquid involved Cons: Not effective on stuck-on grime or oily residue

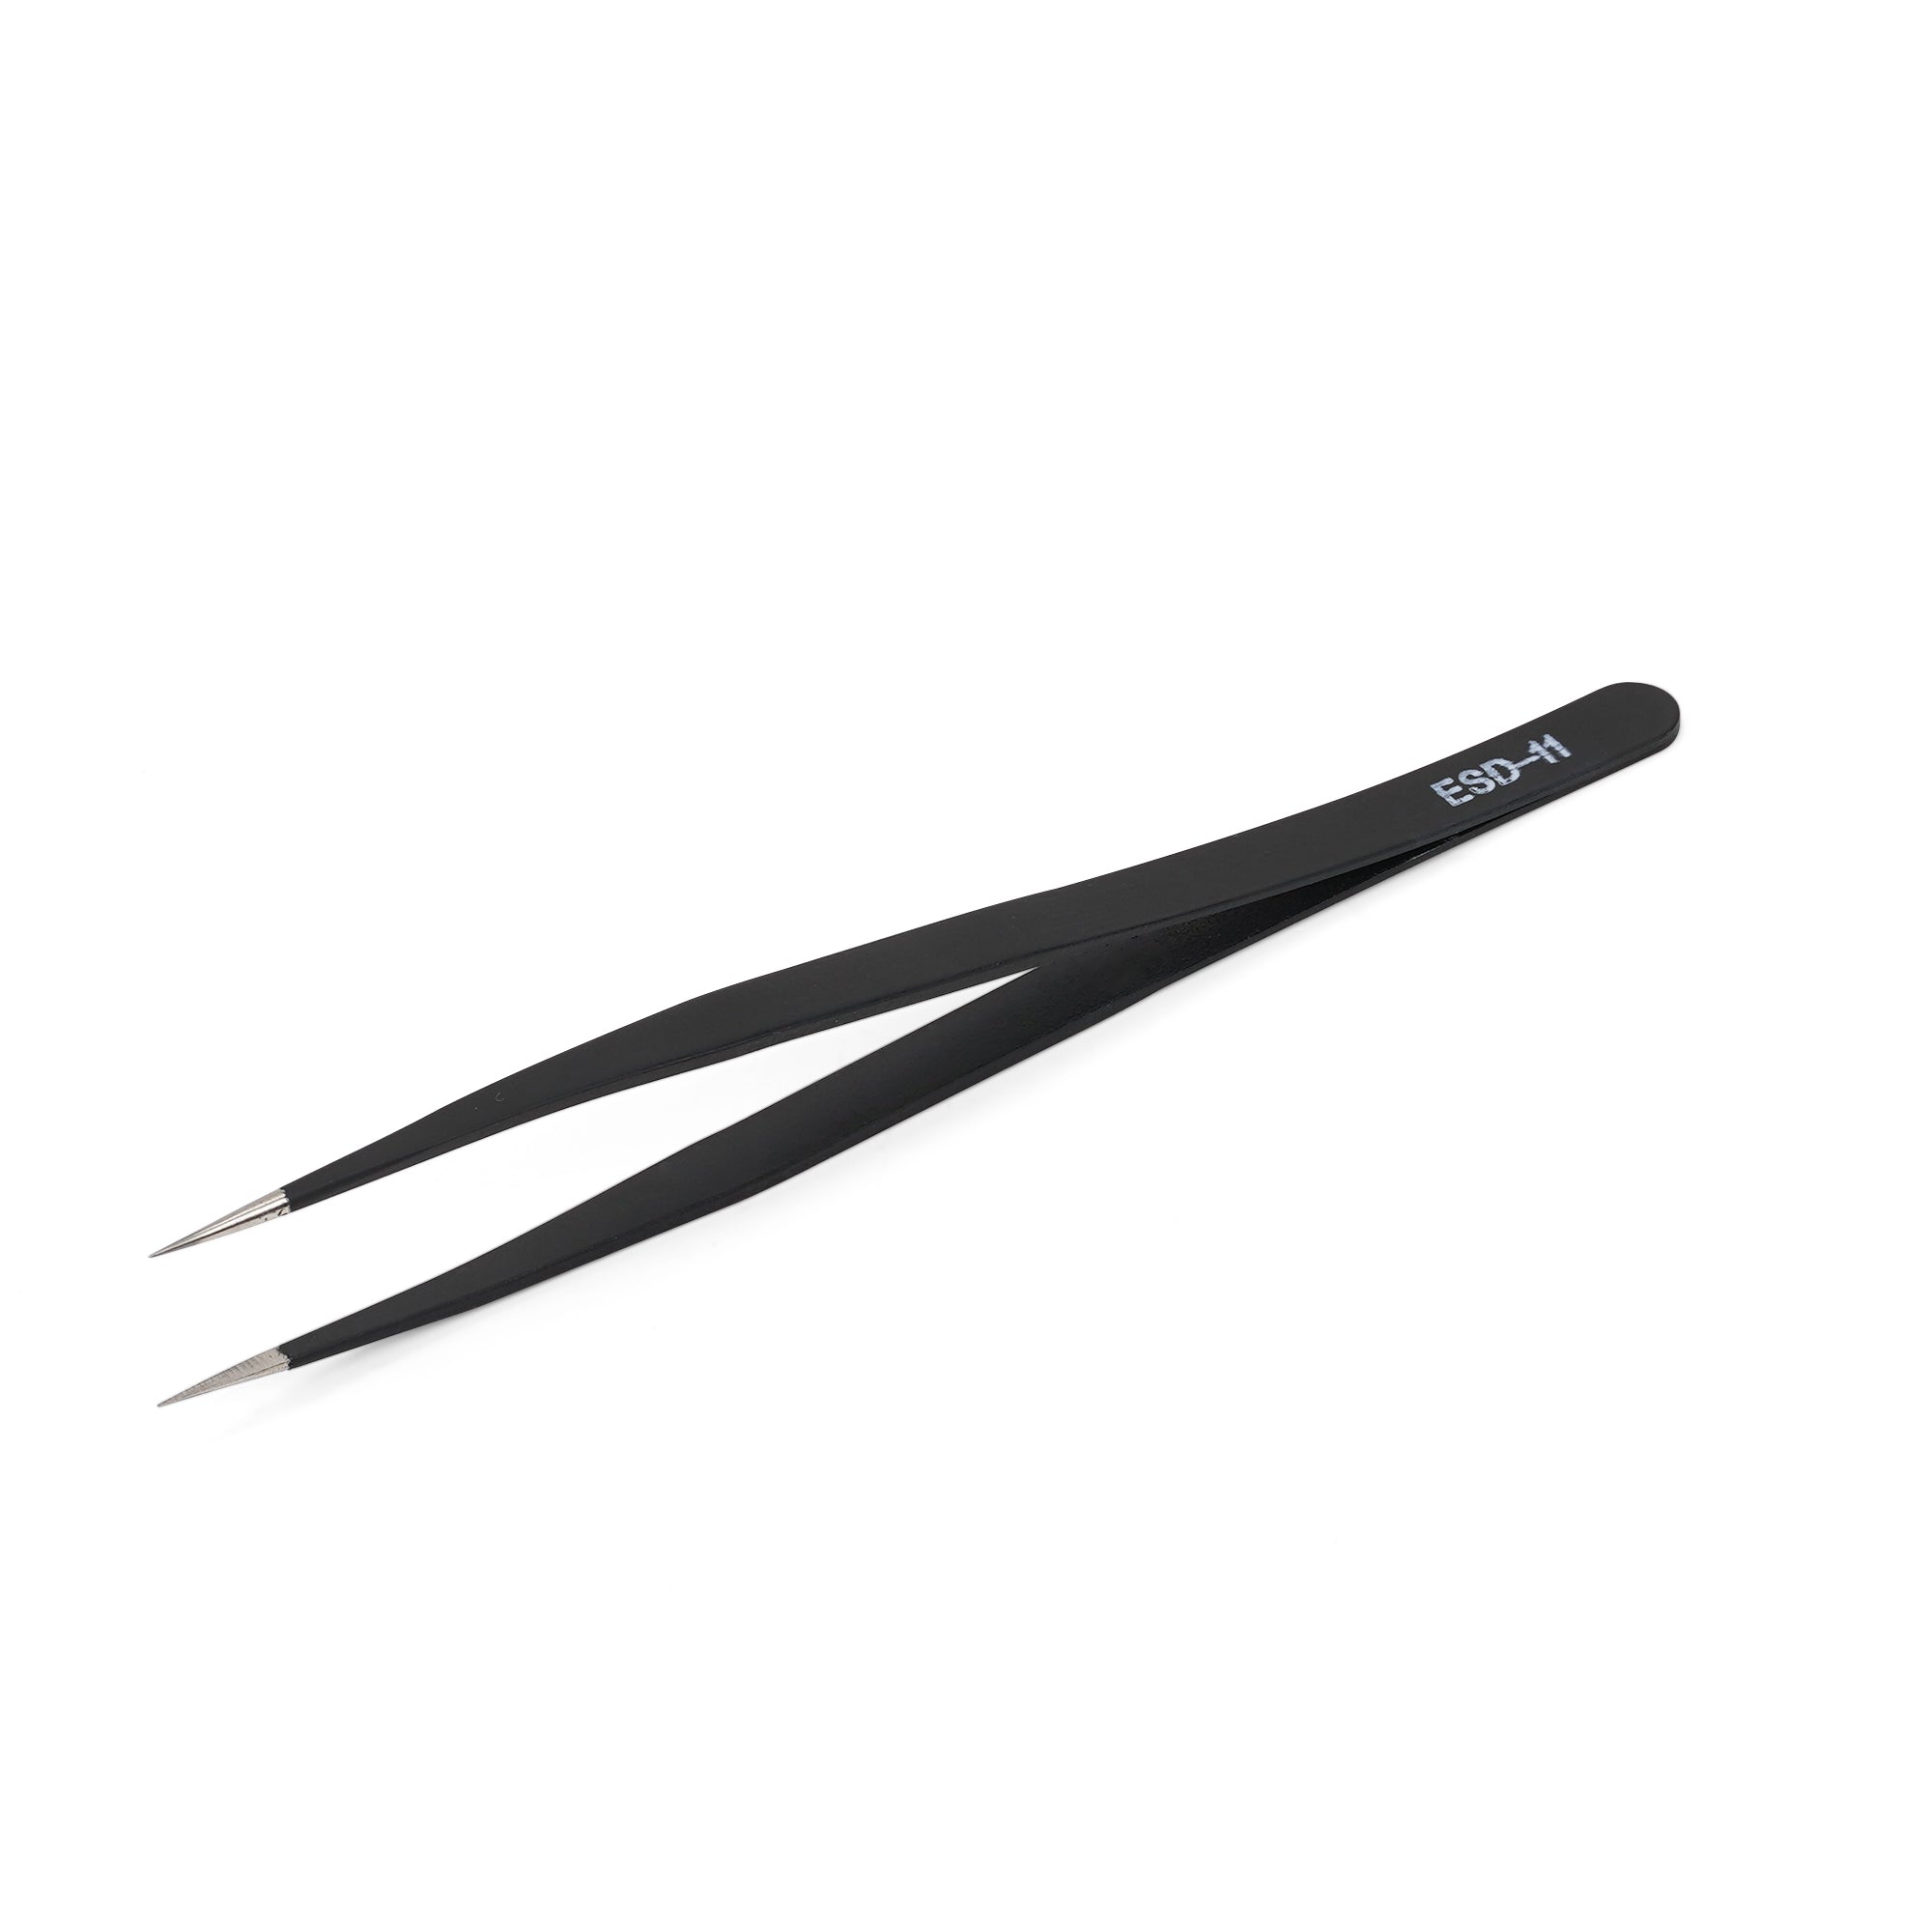
KBDfans Anti-Static ESD-11 Tweezers
A 14cm stainless steel tweezer with a fine curved tip, for the parts of a clean your fingers cannot reach. Lifting hair and crumbs out of a switch housing, retrieving a stabiliser clip that fell into the case, seating a spring back on a stem. Anti-static, so it's safe to use around an exposed PCB.
Pros: Curved tip reaches into a switch housing, anti-static, light enough not to fatigue your hand Cons: Fine tips bend if you use them to pry anything
How to Reinstall Keycaps
Once keycaps are fully dry, reinstalling is straightforward. Line up the stem hole with the switch stem, then press straight down firmly until you feel/hear a slight click. If you took a photo before removing them, use it as a reference for any non-obvious key positions.
Check each row to make sure all keycaps are seated evenly — an uneven row is usually a sign that one cap isn't fully pressed down.
How Often Should You Clean Your Keycaps?
- Every 1–2 weeks: Quick wipe-down, compressed air pass.
- Every 3 months: Full removal and soak, clean the plate.
- When something spills: Immediately unplug, remove affected keycaps, and address the spill before the liquid reaches the switches.
Heavy users and people who eat near their keyboards may want to move to monthly deep cleans. The cheapest way to stretch those intervals is to stop dust landing between the keycaps in the first place — a board that lives under a cloth between sessions needs the full soak treatment far less often.
Cleaning your keycaps regularly is one of the simplest maintenance habits you can build — it takes just a few minutes and makes a real difference in both feel and appearance. Whether you're doing a quick wipe or a full soak, the steps above will keep your board in great shape without risking damage to your switches or legends. If you're looking to upgrade while you're at it, check out our guide to the best budget mechanical keyboards for keyboards worth keeping clean.
And once the board is clean, the mat underneath it usually needs the same attention — how to clean a desk mat covers hand washing, the washing machine question, and the cork and RGB mats that must never be soaked.