Rubber keyboard feet are easy to ignore because they are small, cheap, and rarely the headline feature. Then one falls off, the board starts sliding on every fast burst, and suddenly they are the only thing you can think about. The good news is that a keyboard feet replacement is a five-minute job with a few dollars of parts — as long as you get the size, the adhesive, and the surface prep right.
This guide covers what to buy, how thick the pads should be, the glue that actually holds, how to get old feet off without leaving residue, and the DIY options that work when nothing off-the-shelf fits.
Why Rubber Keyboard Feet Matter
Good rubber feet help with:
- desk grip and stability
- keeping your keyboard angle consistent
- reducing unwanted sliding during gaming
- slightly isolating the board from a hard desk surface
They will not transform a bad board into a great one, but they are one of the easiest low-cost fixes for a keyboard that shifts, rattles, or sounds harsher than expected on a desk.
When to Replace Keyboard Feet
You should think about replacing or upgrading feet if:
- the stock feet are worn down, glazed, or shiny
- one or more has fallen off entirely
- your keyboard moves too much during play
- the case sits unevenly and rocks on one corner
- you are tuning your setup and want better desk isolation
Worn feet are the common case. The rubber compound on cheap stock pads hardens over a year or two, loses its tack, and starts skating instead of gripping. A rocking case is the other one — and it is usually a missing foot, not a warped case.
Keyboard Feet Replacement: What Size and Thickness
This is where most replacements go wrong. People buy a bumper pack, stick the pads on, and find the board now rocks worse than before.
Three things to match:
- Diameter. Measure the recess or the old pad's footprint before buying. Most full-size and TKL cases use something in the 8–12 mm range; small 60% cases often take less. If the pad overhangs the recess, it will peel from the edge inward.
- Thickness. All four feet must be the same thickness, and it has to clear whatever is around them. Too thin and the case bottom drags on the desk, which kills the isolation you wanted. Too thick and a board with fold-out riser legs will wobble when those legs are down.
- Shape. Flat cylindrical pads give the largest contact patch and the most grip. Hemispherical (dome) bumpers grip slightly less but tolerate an uneven desk better, because the contact point stays consistent as the board shifts.
Buy an assorted pack rather than a single size. You almost never guess the diameter right the first time, and having the next size up in the drawer turns a failed fix into a two-minute retry. The exception is a custom board whose maker sells feet cut for that case — then buy those, and skip the guessing entirely.
Self-Adhesive Bumper Pads
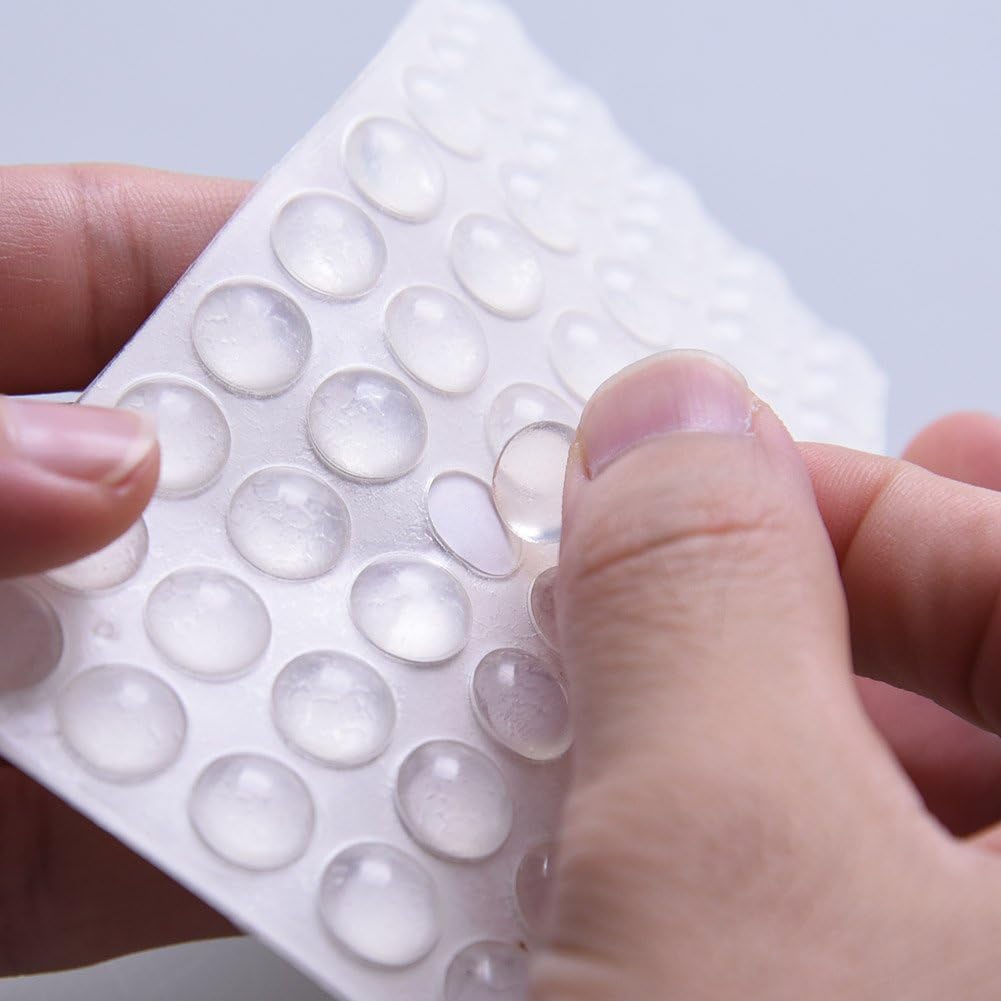
The practical answer for most keyboard rubber feet replacement jobs is not a keyboard-branded spare part — it is a pack of self-adhesive bumpers, the same "bumpon" style pads sold for cabinet doors and furniture. They come in assorted diameters and thicknesses in one pack, the adhesive is designed for smooth painted and plastic surfaces, and there is enough in a pack to redo several boards and still have spares.
This is also the cheapest way to solve the sizing problem above, because you get the range instead of committing to one guess.
Pros: Assorted sizes in one pack, adhesive made for smooth surfaces, enough spares to redo several boards Cons: Sold as furniture bumpers, so nothing is cut to a specific keyboard; you match sizes yourself
Board-Specific Replacement Feet for Custom Keyboards
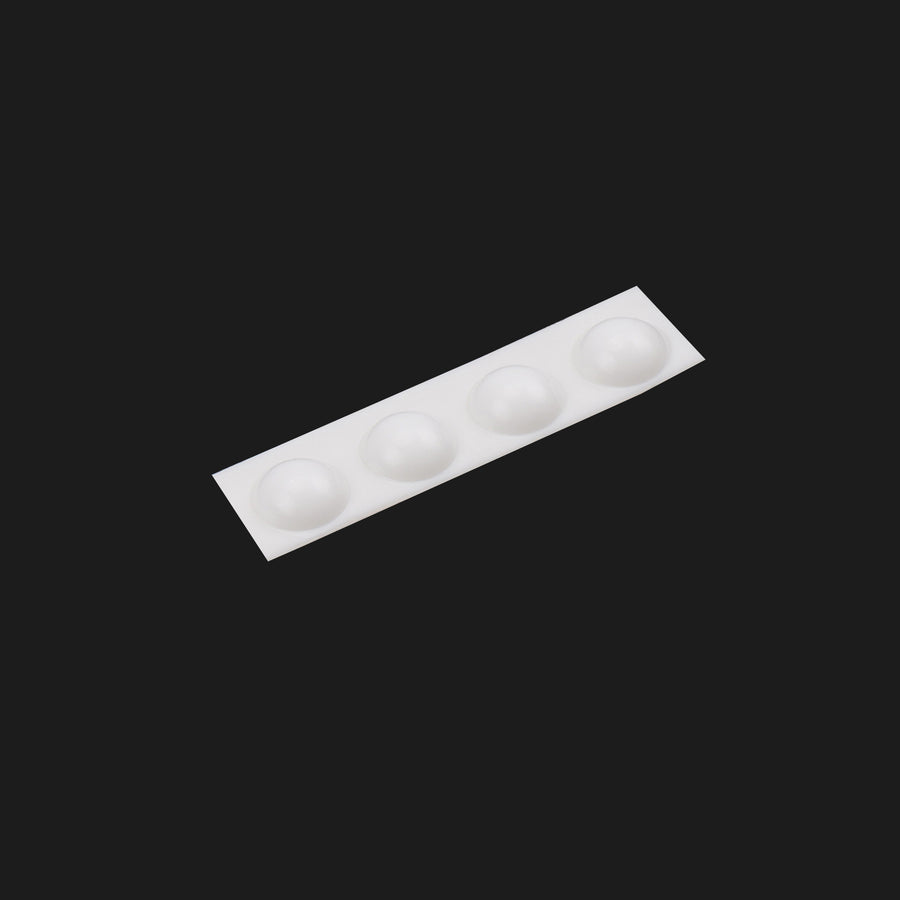
If your keyboard is a custom or enthusiast board, you may not need to guess at all. Some case makers sell replacement rubber feet cut for the exact board, and KBDfans lists them per case: separate variants for the Tofu60 and Tofu65, KBD67 Lite, D60/D65, Tofu TKL, KBD8X MKIII, Holy60/Holy80, GT-60/GT-80 and several others, each matched to that case's recesses.
For boards not on that list, the same listing has a generic pack of four 8 x 8 x 2 mm hemispherical EVA silicone pads. That is a useful reference size in its own right: small, dome-shaped and low enough that it will not lift a case off its own bottom edge. It suits compact cases with shallow round recesses better than a furniture-bumper assortment, where most of the pads are too wide.
Order by the board name first; fall back to the generic pads only if your case is not listed.
Pros: Cut for named custom boards, so no sizing guesswork; generic 8 mm dome pads for everything else Cons: Only covers the cases on the list; the generic pack is one size, not an assortment
Adhesive That Actually Holds
Most replacement feet fail at the glue, not the rubber. The pad's own backing is usually fine — it just gets stuck to a surface that was never cleaned.
What works:
- Clean first, always. Wipe the recess with isopropyl alcohol and let it flash off. Old adhesive residue, desk grease and skin oil are why a new pad lifts after a week.
- Press and wait. Adhesive backings are pressure-sensitive. Press each pad firmly for 20–30 seconds, then leave the board upside down for a few hours before using it. Most people skip the wait and then blame the pad.
- If the stock backing fails, use contact cement or a flexible superglue gel. Gel stays where you put it instead of wicking into the case. Use a small amount — a bead that squeezes out sideways will end up on the desk.
- Avoid thin liquid superglue and hot glue. Liquid CA runs and goes brittle, so the pad pops off as one piece. Hot glue stays soft and lets the foot creep under load.
For a keyboard that lives on a glass or laminate desk, grip is mostly a rubber-compound property, not an adhesive one. If a well-stuck pad still slides, the pad is too hard — change the pad, not the glue.
How to Remove Old Keyboard Feet Without Residue
Getting the old ones off cleanly is half the job, because new adhesive will not bond to old adhesive.
- Lift an edge with a fingernail or a plastic spudger. Avoid metal on a painted or anodized case.
- Pull slowly at a low angle, close to parallel with the case, rather than straight up. Slow and flat leaves the glue layer behind on the pad instead of tearing it in half.
- For the grey film that stays behind, soak it with isopropyl alcohol and give it a minute before rubbing. A plastic scraper or a pencil eraser lifts the rest.
- Finish with a clean alcohol wipe and let it dry fully before the new pad goes on.
Do not reach for acetone or a citrus solvent on a plastic case. Both attack ABS and can leave a permanent dull patch exactly where you were trying to be tidy.
DIY Keyboard Feet and Alternatives
Sometimes the recess is an odd size, or you want more height than a bumper pack gives. DIY keyboard feet are a reasonable answer here — this is one of the few keyboard mods where the homemade version is genuinely competitive.
Options that hold up:
- Sorbothane pads. The best-performing option if your goal is isolation rather than grip. Cut to size with a sharp blade, stick with its own adhesive backing. It damps desk-borne resonance far better than plain rubber.
- Silicone sheet, cut to size. Cheap, grippy, easy to cut with scissors. Needs its own adhesive since bare silicone sheet rarely comes backed.
- O-rings seated in the recess. Works well when the case has a deep, well-defined circular recess. No adhesive needed if the fit is snug.
- Stacked thin bumpers. Two thin pads stacked reach a height one thick pad cannot, and they stay flat. This is the easiest way to raise one corner of a case that rocks.
- Felt pads — for quiet desks only. They slide easily, so use them where the board never gets shoved, not on a gaming setup.
What to skip: cork coasters cut by hand (too crumbly at that thickness) and anything fabric-backed, which soaks up desk grime and stops gripping within weeks.
Riser Feet vs a Keyboard Stand
Replacement feet fix grip and level. They do not really fix angle — a pad thick enough to noticeably tilt a board is also thick enough to peel off under the leverage.
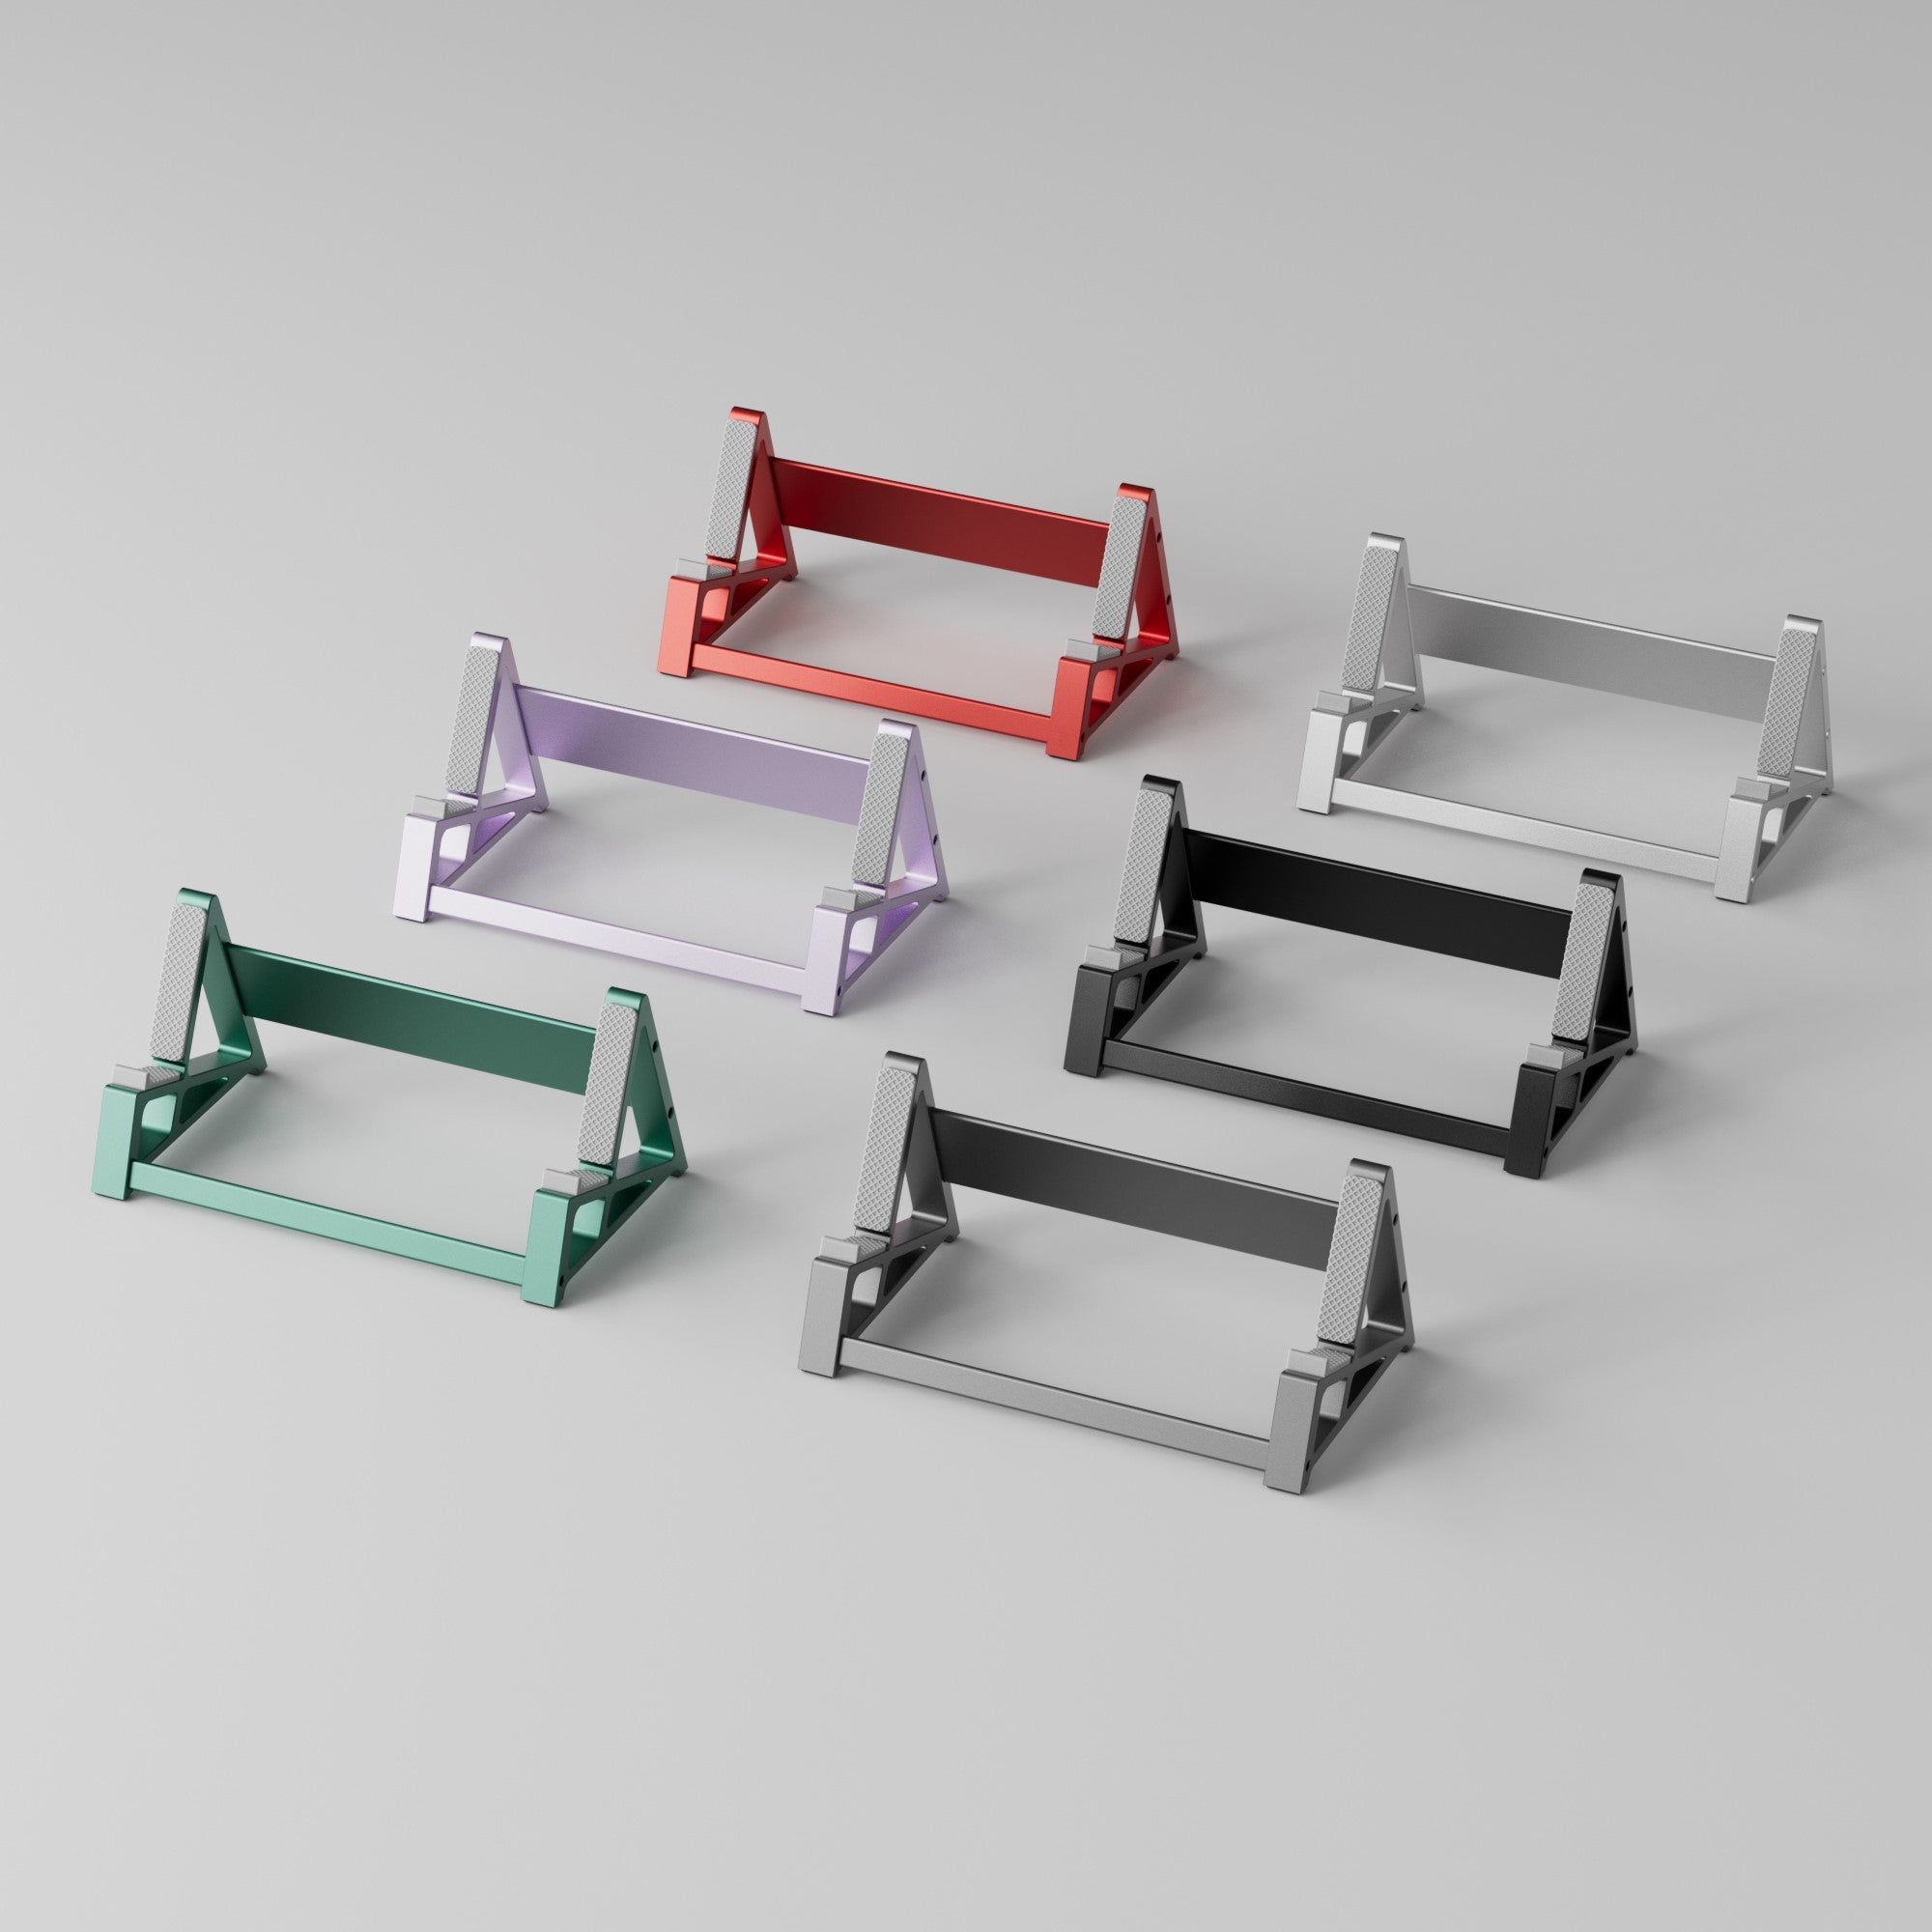
If what you actually want is more typing angle or a raised board, that is a stand's job, not a foot's. A stand also solves the problem replacement feet cannot: it holds the angle without putting the whole load on four adhesive dots. An aluminium stand adds mass under the case too, which tends to firm up the sound rather than hollow it out the way fold-out plastic riser legs can.
Pros: Sets a real typing angle, no adhesive to fail, adds mass under the case Cons: Costs far more than a bumper pack; takes up desk depth
Rubber Feet and Keyboard Sound
Rubber feet do not matter as much as switches, plates, foam, or stabilizers, but they can still change how energy transfers into the desk. That means they can slightly change the perceived harshness or hollowness of a board, especially on harder surfaces.
Softer and thicker pads decouple more; hard thin pads let the desk act as a soundboard. If your board sounds fine in your lap and hollow on the desk, the feet are part of that difference — and so is what the board is standing on.
Cork Keyboard Pad
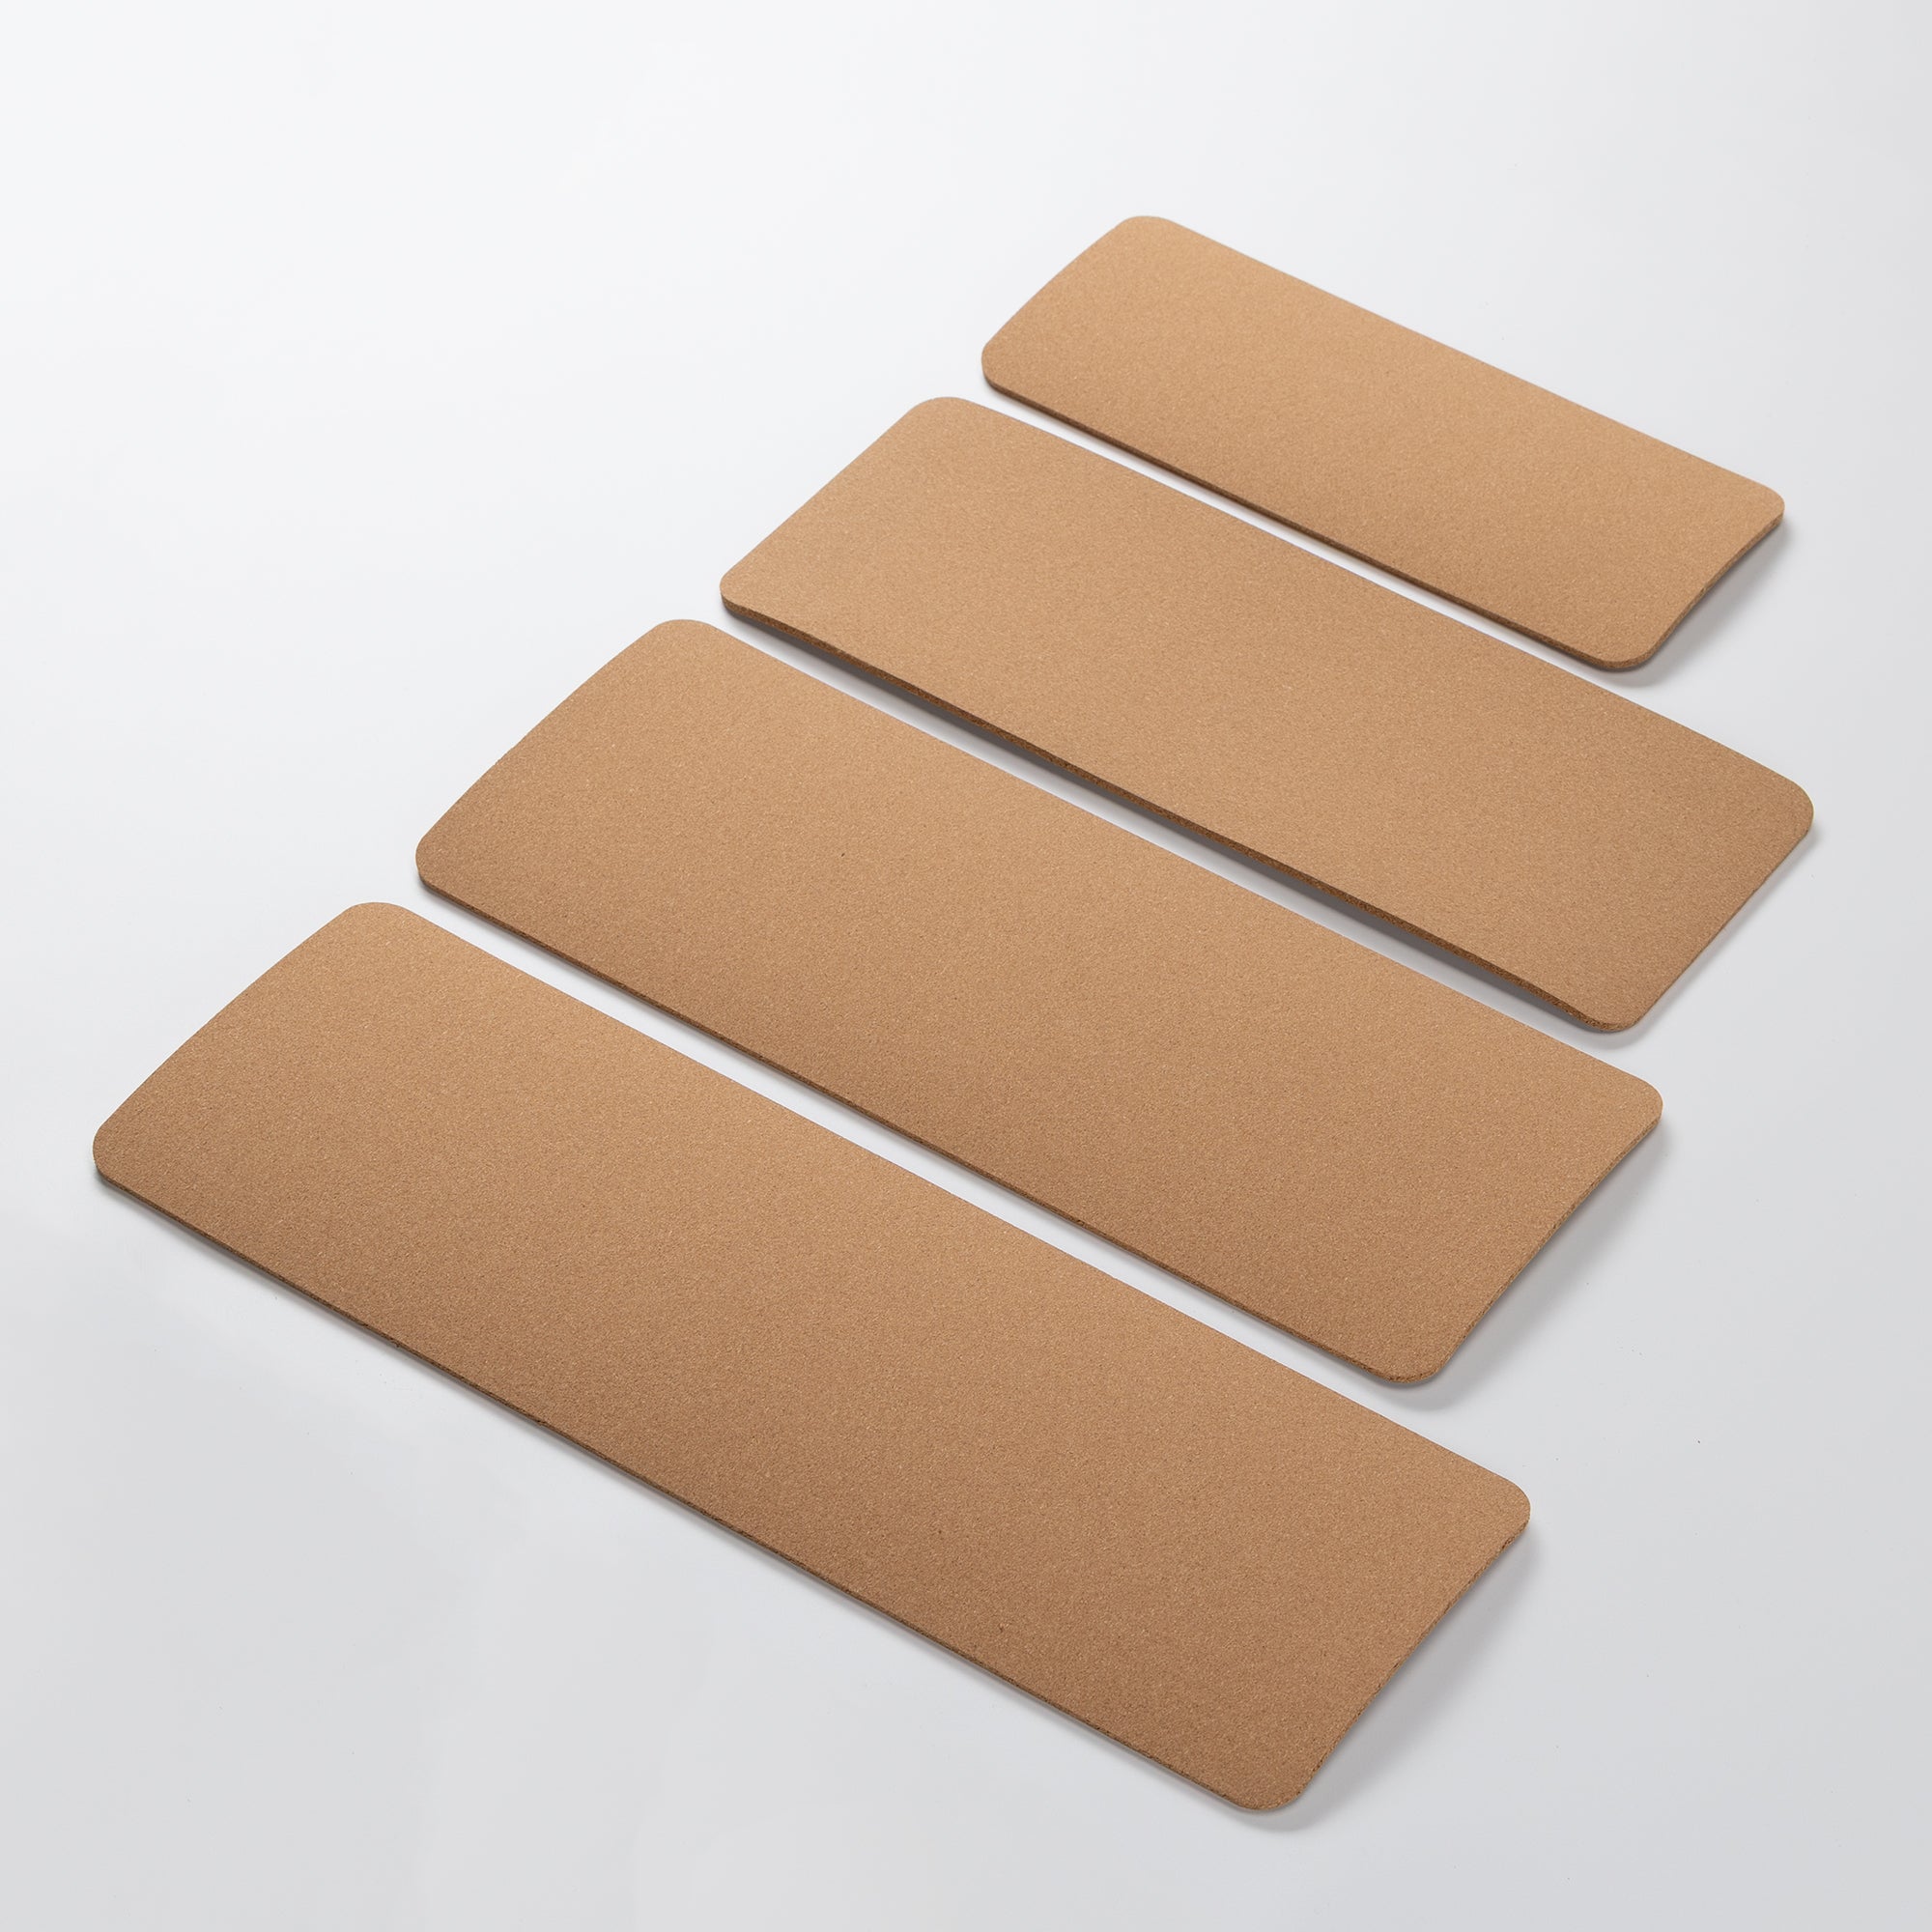
A cork pad under the board is the other half of desk isolation, and it works on the part feet cannot reach: the whole footprint instead of four small contact points. Cork is naturally damping, so it takes the edge off desk resonance on laminate and glass without the squish of a foam mat. It is sized by keyboard layout rather than sold as one large desk mat, so it sits under the board instead of across the desk.
It also solves sliding on its own — which makes it worth trying before a fifth attempt at getting pads to stick.
Pros: Damps desk resonance across the whole footprint, layout-sized, no adhesive involved Cons: Adds a little height; picks up dust on a busy desk
If you are tuning a sound profile, pair this with bigger improvements first:
Keyboard Feet Replacement: Quick Answers
What size are rubber keyboard feet? There is no standard. Most full-size and TKL cases land in the 8–12 mm range, smaller cases below that. Measure the old pad or the recess before ordering, and buy an assorted pack so a wrong guess is not a wasted order. For custom boards, check whether the case maker sells feet for that exact model first — KBDfans does for many of its cases, and its generic replacement is an 8 x 8 x 2 mm dome.
Can I use furniture bumpers as keyboard feet? Yes, and that is what most replacement packs actually are. The adhesive and the rubber compound are the same; only the marketing differs. Match the diameter to the recess and they work fine.
Why do my keyboard feet keep falling off? Almost always surface prep. Old adhesive residue left in the recess stops the new backing from bonding. Clean with isopropyl alcohol, press firmly, and leave the board upside down for a few hours before use.
How do I remove rubber feet without leaving residue? Peel slowly at a low angle rather than straight up, then soak whatever stays behind with isopropyl alcohol and lift it with a plastic scraper or an eraser. Skip acetone — it damages ABS cases.
Do rubber feet change how a keyboard sounds? A little. They change how much vibration reaches the desk, so thicker and softer pads sound less hollow on a hard surface. They are a finishing touch, not a substitute for foam, switches or stabiliser work.
Will thicker feet fix my typing angle? Not really. A pad thick enough to tilt a board noticeably tends to peel under the leverage. Use a stand for angle and keep the feet for grip and level.
Final Take
Rubber keyboard feet are not the most exciting mod, but they are one of the easiest ways to improve grip and polish the feel of a daily driver. Measure before you buy, clean the recess properly, press and wait, and the replacement holds for years. If your board slides, tilts, rocks, or sounds worse on a bare desk, this is worth fixing — and it is cheap enough to fix twice if the first size is wrong.