Learning how to remove keyboard keycaps takes about two minutes, and almost every way it goes wrong comes down to the same mistake: pulling at an angle instead of straight up. Get the direction right and a full set comes off in five minutes with nothing marked. Get it wrong and you crack a stem — the small cross-shaped socket underneath — which is the one kind of keycap damage that cannot be repaired.
This guide covers the ordinary keys, the awkward stabilized ones, what to do with no tool at hand, and how to seat everything properly again afterwards.
Before You Start
Three things save you trouble later:
- Unplug the keyboard, or power it off if it's wireless. Pulled caps land on keys, and a board firing stray inputs into whatever window is open is an annoying way to start.
- Photograph your layout. One overhead phone photo. Bottom rows vary between boards, and function-row legends are easy to misremember once forty caps are in a bowl.
- Work over a tray or a towel. Caps bounce, and a raised edge saves you hunting under the desk.
If you plan to wash the set afterwards, read how to clean keycaps first — some materials and finishes need different handling, and it's easier to know that before the caps are in water.
How to Remove Keyboard Keycaps, Step by Step
Step 1: Hook the puller under two opposite corners. A wire puller is a loop with two hooked ends. Squeeze it slightly, drop it over the cap, and let the hooks settle under the front and back edges — not the left and right sides, where the wire is more likely to slide off on a narrow key.
Step 2: Check that both hooks are seated. Lift a millimetre and stop. If the cap tilts, one hook is on the cap wall rather than under it. Reseat it. This half-second check is what prevents most scratched caps.
Step 3: Pull straight up. Vertical, steady, no twisting and no rocking side to side. The cap releases from the switch stem with a small pop. A cap that has been on for years may need slightly more force, but it should never need a jerk.
Step 4: Work in rows and keep them in order. Pull left to right along each row and lay the caps out in the same shape on your towel. Reassembly then needs no thought at all, and you will notice immediately if one is missing.
Step 5: Set the caps down on their tops, not their stems. Stems are the fragile part. Resting a pile of caps stem-down and then pressing on the pile is a quiet way to damage several at once.
That is the entire technique for ordinary keys. If you are choosing between a wire puller, the free plastic ring that came in the box, and a dual-ended tool, the keycap puller guide compares them directly — the short version is that wire hooks under the cap while a ring clamps around it, and only one of those touches surfaces you can see.
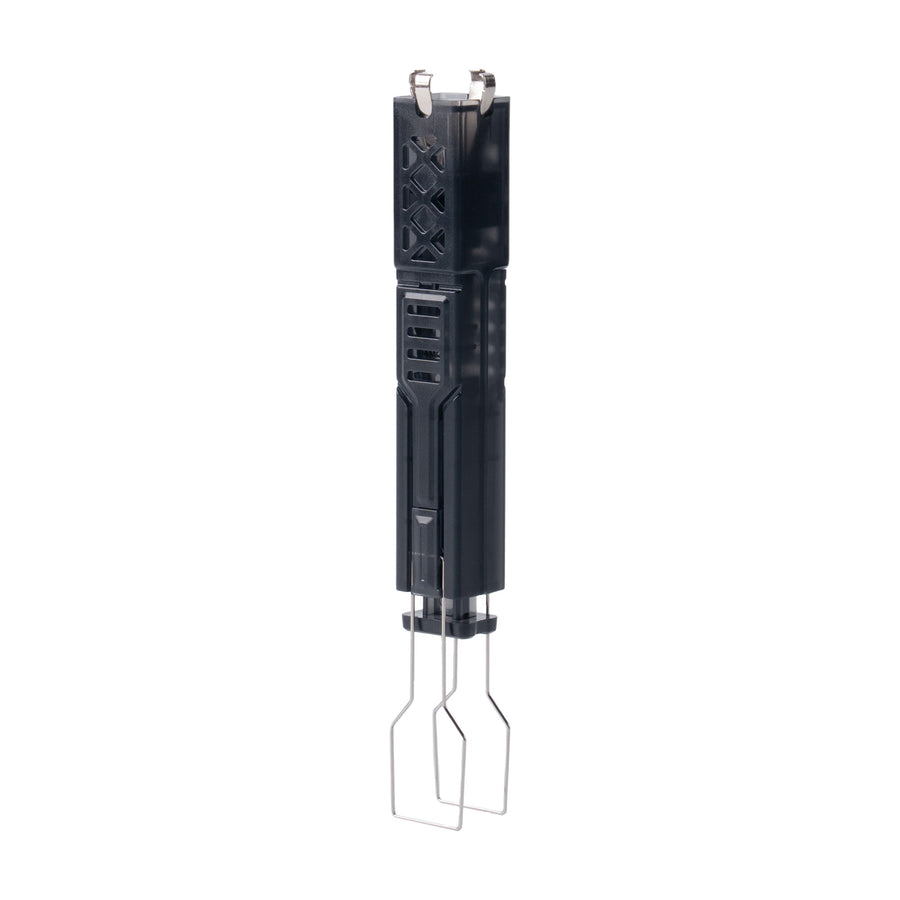
Keychron 2-in-1 Switch and Keycap Puller
The tool most people should own if they're buying one. The wire end handles keycaps, and the opposite end is a switch puller — so when the caps come off because you're changing switches, you don't need a second trip. The wire is stiff enough that it holds its shape after dozens of pulls, which is where thin bundled wire pullers fail.
Pros: Dual-ended, stiff wire that keeps its shape, no contact with visible cap surfaces Cons: Only useful on hot-swap boards for the switch half
The Stabilized Keys Need a Different Pull
The spacebar, enter, backspace and both shifts sit on stabilizers — a wire bar and two extra plastic stems that keep a long key from tilting when you press one end. These are the keys people break, because the technique that works on a 1u key doesn't transfer.
Pull from both ends at once. Hook the puller as centrally as you can and lift evenly. If you lever up one end of a spacebar, the stabilizer wire twists inside its housing, and you can pop the wire out of the clips or snap a stabilizer stem clean off the cap.
Expect more resistance and go slower. Three or four contact points hold a spacebar rather than one. It should still come away smoothly; increasing force is the wrong response, and reseating the puller is usually the right one.
Listen for the wire. A metallic ping as a long key releases means the stabilizer wire has come out of a clip. Nothing is broken — but stop and reseat the wire in its housing before you put the cap back, or that key will rattle and bind from then on.
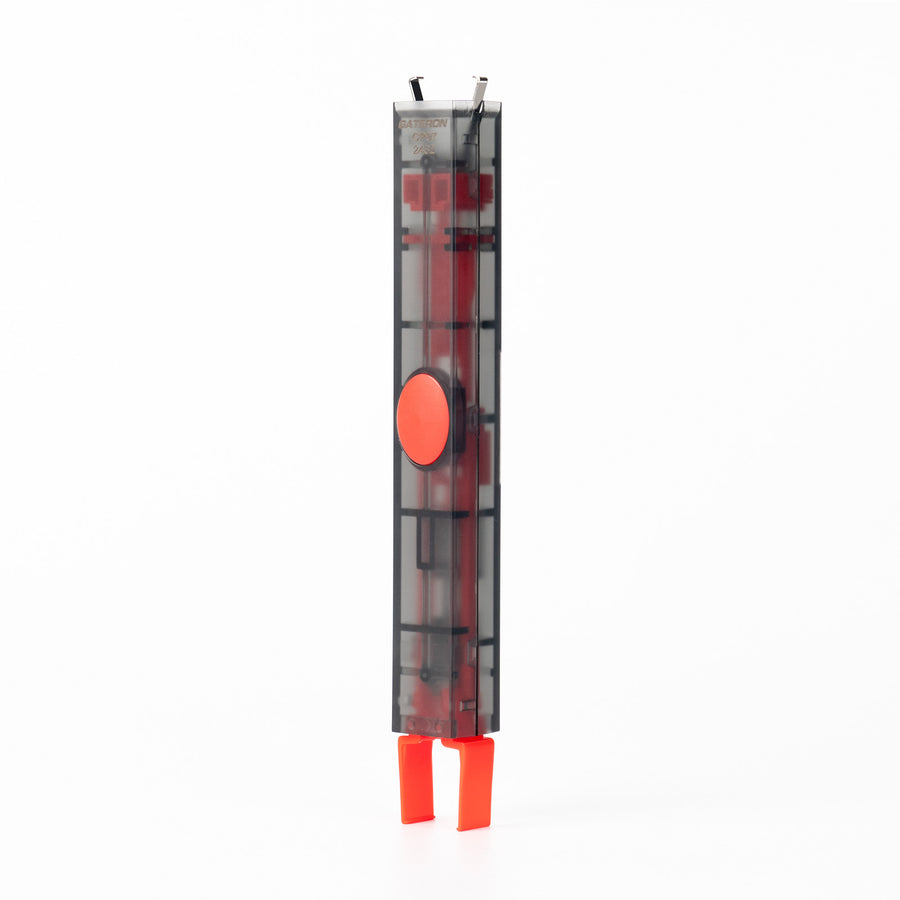
Gateron Switch and Keycap Puller
A near-identical dual-ended design and a reliable alternative if the Keychron tool is out of stock or you want a second puller for a different desk. The keycap loop is the same wire style; the switch end grips the housing tabs rather than the stem, which is the correct way to lift a switch out of a hot-swap socket.
Pros: Same dual-ended format, inexpensive, switch end grips the housing correctly Cons: No meaningful advantage over the Keychron if you already own that one
How to Remove Keycaps Without a Puller
It can be done, and some methods are much safer than others. In order of risk:
- Two thin flat tools with the tips taped. Under opposite corners, lift together. This imitates a wire puller and is the best improvised option.
- A loop of dental floss or thin cord. Pass it under the cap, cross the ends, pull up. Slow, but the force stays vertical, which is the part that matters.
- Your fingers. Fine on tall profiles like SA and MT3, where there's enough cap wall to grip. On a flat set there's nothing to hold — see keycap profiles if you're unsure which you have.
- A screwdriver levered against the cap. Don't. A single-point lever puts all the force on one corner: it marks the cap first and cracks the stem shortly after.
A puller costs a few dollars and removes the risk entirely, which is the honest argument against all four.
Keycap Puller and Brushes
The budget route, and a sensible pick if you're pulling caps mainly to clean rather than to swap sets. It pairs a steel wire puller with cleaning brushes, so the tool that takes the caps off and the tool that gets dust out of the exposed plate arrive together.
Pros: Inexpensive, gentle on stems, brushes included for the board underneath Cons: A switch puller may not be included — check the listing before ordering
Keycap Puller and Brushes
Clean the Board While It's Open
A bare plate is the only time the debris under your keys is reachable, so it's worth ten minutes even if cleaning wasn't why you started. Tip the board upside down and tap the loose crumbs out, work a soft brush between the switches to lift what's clinging to the plate, then wipe the case. Compressed air handles the loose material but tends to relocate the sticky part rather than remove it — a brush and a cloth do the job properly.
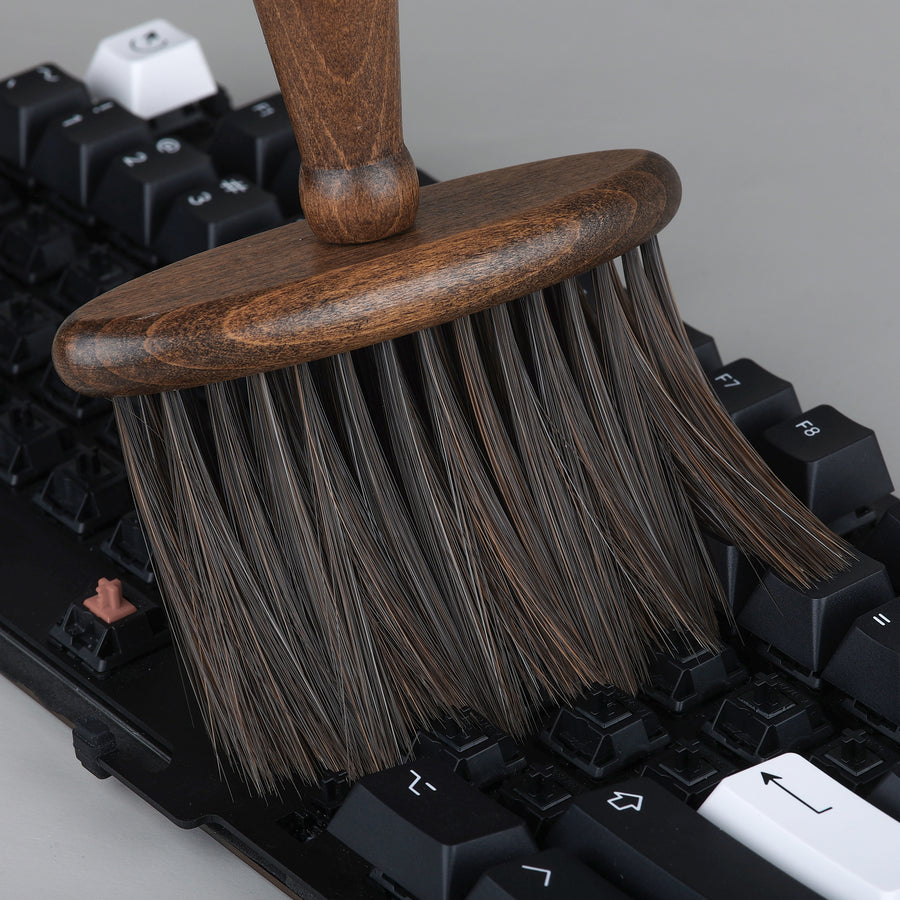
KBDfans Keyboard Mahogany Cleaning Brush
Soft natural bristles on a wooden handle, sized to fit between switch housings on a plate. Stiff nylon brushes can scratch a coated plate and shed bristles into the switches; this is the shape and softness the job actually needs.
Pros: Reaches between switches, soft enough not to mark the plate, very cheap Cons: Too soft for baked-on grime — that's a job for a damp cloth
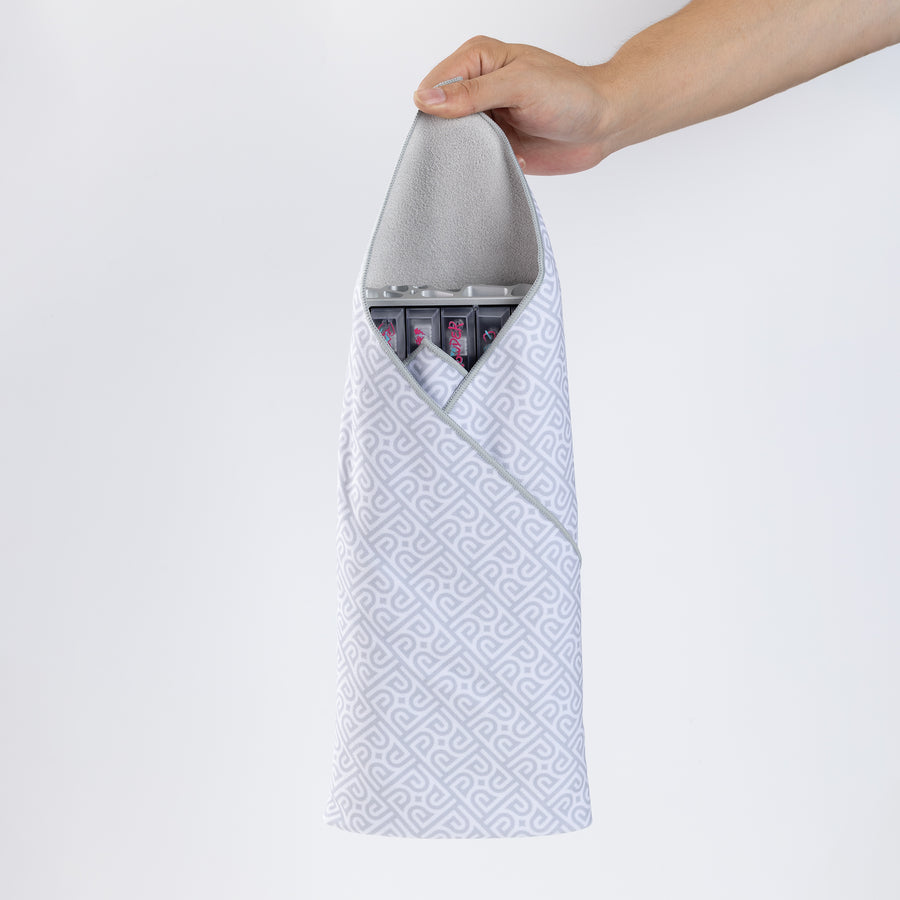
KBDfans Magic Wrapper Cloth
A microfibre cloth for the case and the caps themselves. Worth having as a dedicated keyboard cloth rather than reaching for kitchen paper, which leaves lint in the switch housings and can haze a glossy case over time.
Pros: Lint-free, safe on coated and anodised cases, washable Cons: Does nothing a good microfibre cloth you already own wouldn't
Putting the Keycaps Back On
Reinstalling is easier than removal, with two exceptions.
Ordinary keys: line the cross in the underside of the cap up with the switch stem and press straight down until it clicks. If it resists, the cross is rotated — lift and turn it a quarter turn rather than pressing harder.
Stabilized keys: the cap has to meet the switch stem and both stabilizer stems at once. Rest it over all three, check by eye that it's level, then press firmly on each end in turn. A stabilized cap forced on while only the centre stem is engaged is the most common way people snap a stabilizer stem — on the way back on, not on the way off.
Check your photo, then run a quick typing test. A cap that looks seated but isn't fully clicked down feels mushy and is easy to catch this way.
Three Mistakes Worth Avoiding
- Twisting. Rotation puts a shearing load across the stem, the direction the plastic is weakest in. Vertical only.
- Working on a cold set. ABS and PBT both stiffen as they cool, and a chilled cap is more brittle. A keyboard just carried in from a car should warm up first.
- Going after the switches without the right tool for the second half. Removing keyboard switches has its own technique and its own way of going wrong.
Knowing how to remove keyboard keycaps properly is what makes every other keyboard job possible — cleaning, switch swaps, and fitting a new set all start here. Pull straight up, treat the stabilized keys as their own task, and a set will survive being taken off and put back on many times over.